How to Clean a Vacuum Cleaner (Step-by-Step for Every Type)
Your vacuum works harder when it’s clean. A clogged filter, tangled brushroll, or packed dustbin all cut suction noticeably, and most people never realize that’s why their floors still look dusty after vacuuming.
This guide walks you through how to clean a vacuum cleaner from top to bottom, with steps tailored to upright, stick, canister, and robot models.
What You’ll Need
Nothing fancy here. Most of this you already have at home:
- Scissors or a seam ripper (for cutting hair off the brushroll)
- A dry microfiber cloth or old toothbrush
- Warm water
- Mild dish soap (optional)
- A trash bag
Some vacuums need specific replacement filters. Check your model’s manual before you start so you’re not caught waiting on a part.
Step 1: Empty and Wash the Dustbin or Replace the Bag
This is always the first step. Working around a full dustbin makes everything harder and dirtier.
For bagless vacuums: Detach the dustbin over a trash bag and tap it out. Rinse it with warm water. A drop of dish soap helps if there’s stuck-on grime or a bad smell. Let it dry completely before putting it back. Putting a damp canister back causes mold.
For bagged vacuums: Pull the bag out and seal it before removing it so the dust doesn’t escape. Slide the new bag in and make sure it’s locked into the port properly. A loose bag means dusty air blowing right back through the machine.
Step 2: Clean or Replace the Filters
This is the step most people skip. It’s also the one that matters most for suction and air quality.
Most vacuums have two filters: a pre-motor filter and a post-motor (exhaust) filter. The pre-motor filter catches dust before it reaches the motor. The exhaust filter, often a HEPA filter, catches fine particles before air exits the machine.
Washable filters: Rinse under cold water until the water runs clear. Do not use soap unless the manual says it’s okay. Shake off the excess water, then leave it to air dry for at least 24 hours. Wet filters damage motors. There are no shortcuts here.
Non-washable filters: Tap them gently over a trash bag to knock loose debris free. A burst of compressed air works better if you have it. Replace them when they look visibly grey or when suction drops even after cleaning everything else. Most manufacturers recommend replacing filters every 6 to 12 months.
If you have allergy concerns at home, replacing HEPA filters on schedule matters a lot. A degraded HEPA filter recirculates fine dust back into the air instead of trapping it. Our guide on the best vacuums for allergies and HEPA filtration covers what to look for if that’s a priority for your household.
Step 3: Remove Hair and Debris from the Brushroll
The brushroll picks up more than dirt. Long hair, carpet fibers, and string wrap around it over time and form a solid, motor-straining mass. When the brushroll is tangled, it stops spinning properly. You’ll see it in how flat your carpet looks after vacuuming.
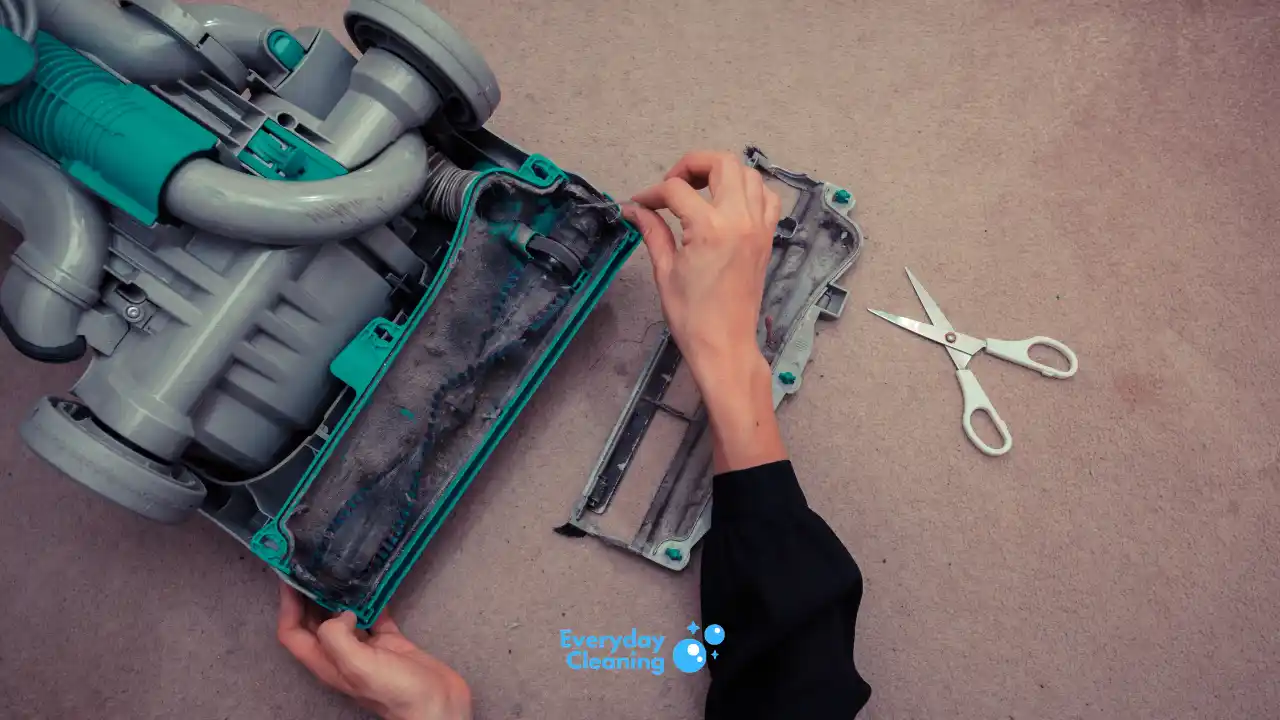
Lay the vacuum on its side or flip it upside down so you can see the brushroll clearly. Most clip out with a button or a twist. If yours doesn’t come out, work on it in place.
Use scissors to cut through the hair in sections, then pull it off in strips. A seam ripper is easier if you have one. Work across the full length of the brushroll, not just the middle where the tangle is worst.
Once the hair is out, wipe the brushroll down with a dry cloth. Check the ends where the bearings sit. Hair collects there and causes drag. Clean those out with an old toothbrush or a pointed tool.
Spin the brushroll by hand before clicking it back in. It should spin freely. If there’s resistance, check again for debris you missed.
Step 4: Wash the Canister Body and Wand
The inside of the dirt canister and the wand pick up fine dust and oily grime over time, especially in homes where cooking grease or pet dander is in the air.
Wipe the inside of the canister with a dry cloth first to pull out loose dust. Then dampen the cloth slightly and wipe again. For the wand and hose connections, run a dry cloth through as far as it reaches. If the hose itself smells musty, you can run warm water through it over a sink. Let it hang to dry fully before reattaching.
Never spray water directly into any part of the vacuum that connects to the motor.
Step 5: Check the Hose for Clogs
A hidden clog in the hose or wand is one of the most common reasons suction seems fine on paper but weak in practice. A clog blocks airflow completely, and the motor is still running hard against nothing.
Detach the hose from the vacuum body. Look through it toward a light source. If you can’t see light at the other end, there’s a blockage.
To clear a clog, straighten a wire hanger and push it through gently. You can also feed a broom handle through for wider hoses. Once the blockage is out, rinse the hose with warm water and let it dry before reattaching.
If your vacuum has a hard plastic wand, check where it connects to the hose. Debris collects at those joints and is easy to miss.
Step 6: Clean the Vacuum Attachments
Most people use the crevice tool and upholstery brush regularly but never clean them. They carry dust and allergens from room to room every time you use them.
Wipe all attachments with a damp cloth. For the crevice tool, run a paper towel through the inside to pull out packed dust. Brush attachments can be rinsed under water if the bristles are synthetic. Let them dry before storing.
If you have a motorized pet tool with its own small brushroll, clean the hair off that the same way you did the main brushroll. It clogs just as fast, sometimes faster.
Step 7: Wipe Down the Outside
Vacuum exteriors collect dust on the body, around buttons, and in the vents. Dust on the vents is especially worth clearing because blocked vents cause the motor to run hot.
Wipe the entire exterior with a dry or slightly damp cloth. For button crevices and vent slots, use an old toothbrush or a cotton swab. Do not use any cleaning spray directly on the machine.
Check the power cord while you’re at it. If it’s frayed or cracked anywhere near the plug or the vacuum body, stop using it and have it replaced.
How to Clean a Robot Vacuum
Robot vacuums need more frequent cleaning than upright or stick models because they run more often and their small parts clog faster.
After every run: Empty the dustbin. Most robot vacs have a very small bin, and a full bin cuts performance noticeably.
Weekly: Remove and clean the side brushes. They collect hair fast and bend out of shape if not cleaned. A pair of scissors takes care of any wrapped hair. Wipe the sensors with a dry cloth. Dirty sensors cause navigation errors and random bumping behavior.
Monthly: Remove the main brushroll or rubber extractors and clean them the same way as an upright. Check the filter and tap it clean or replace it depending on the type. Check the charging contacts on both the dock and the robot. A buildup of dust on the contacts causes charging failures that look like battery problems.
If your robot vacuum has a mopping function, rinse the mop pad after every use and replace it when it stops cleaning properly. A dirty mop pad smears grime instead of lifting it.
For households with pets or multiple people, the cleaning schedule needs to be more aggressive. Our guide to the best robot vacuums for pet owners covers models that are easier to maintain when debris load is heavy.
How to Clean a Canister Vacuum
Canister vacuums have more parts than stick models but are usually easier to clean because most components detach cleanly.
Empty the canister or change the bag first, then work through the filters. The pre-motor filter on most canister vacuums is a foam or felt disc that sits just inside the canister opening. Tap it clean or rinse it depending on the type.
The power brush head on a canister works the same as an upright brushroll. Remove, cut out hair, wipe down, and reinstall. The long hose on most canisters is a common clog spot. Disconnect it from both ends and check straight through before assuming the machine has a suction problem.
If you also deal with hard floors, keeping the floor brush clean makes a real difference on wood and tile. Dust and grit build up in the bristles and get pushed around instead of picked up. Our tips on vacuuming hard floors cover what actually works on different surfaces.
Common Mistakes to Avoid
Putting wet filters back in. This is the most common one. Even if the filter feels dry to the touch after an hour, it may not be dry inside. Give it a full 24 hours before reinstalling. Running a wet filter can damage the motor permanently.
Emptying the dustbin too late. Most people wait until the bin is overflowing. By then, suction has already been suffering for a while. Empty it at two-thirds full.
Ignoring the brushroll. A severely tangled brushroll strains the motor over time. It can also cause the brushroll belt to break on upright models. Check it monthly, more often if you have long hair in the house.
Skipping the hose. Out of sight, out of mind. Hose clogs are common and easy to miss. If suction drops after a thorough clean, the hose is usually the culprit.
Using harsh cleaners on plastic parts. Strong cleaners crack plastic over time and can damage seals. Warm water and a small amount of dish soap is all you need.
How Often Should You Clean Your Vacuum?
The dustbin or bag needs emptying after every use, or when it hits two-thirds full. Waiting until it’s packed solid drops suction noticeably.
The brushroll and filters need attention every 1 to 3 months depending on how often you vacuum and whether you have pets. Pet owners should clean the brushroll closer to every 2 to 4 weeks. Long hair wraps fast.
A full deep clean, including washing the canister and cleaning every attachment, makes sense every 3 to 6 months.
Frequently Asked Questions
How often should I clean my vacuum cleaner?
Empty the dustbin after every use. Clean the brushroll and tap the filter every 1 to 3 months. Do a full deep clean, including washing the canister and checking the hose, every 3 to 6 months. If you have pets, push those intervals shorter. Pet hair and dander build up fast. Our guide to keeping carpet clean with pets gives a fuller picture of how often you should really be running and maintaining your vacuum.
Why does my vacuum smell bad after cleaning?
A smell usually comes from one of three places: a damp filter that wasn’t fully dried before reinstalling, pet dander or food debris baked into the dustbin, or a brushroll that hasn’t been cleaned in a while. Wash the canister with a drop of dish soap, let the filter dry for 24 hours, and clean the brushroll thoroughly. If the smell persists, the hose may have trapped debris.
Can I wash my vacuum filter with soap?
Check your manual first. Most washable filters should only be rinsed with cold water, not soap. Soap residue can clog the filter material and reduce airflow over time. If the filter is very dirty and the manual says soap is okay, use a very small amount and rinse thoroughly.
Why did my vacuum lose suction after I cleaned it?
The most likely cause is a wet filter put back before it fully dried. Moisture in the filter blocks airflow the same way clogging does. Remove the filter and leave it to dry for a full 24 hours. If that’s not the issue, check the hose for a clog that may have moved during cleaning. Also make sure the dustbin is fully seated and locked, since a loose dustbin breaks the airflow seal.
Is it worth cleaning an old vacuum or should I replace it?
If the motor runs quietly and suction comes back after a thorough clean, keep cleaning it. If the motor sounds strained, the cord is damaged, or suction stays weak even after a full clean with fresh filters, it’s likely time to replace. Filters and belts are cheap to replace. Motors are not. For anyone shopping for a new model, our roundup of the best upright vacuum cleaners for pet hair covers what to look for in a machine that holds up over time.