How to Vacuum Hardwood Floors Properly (Without Scratching Them)
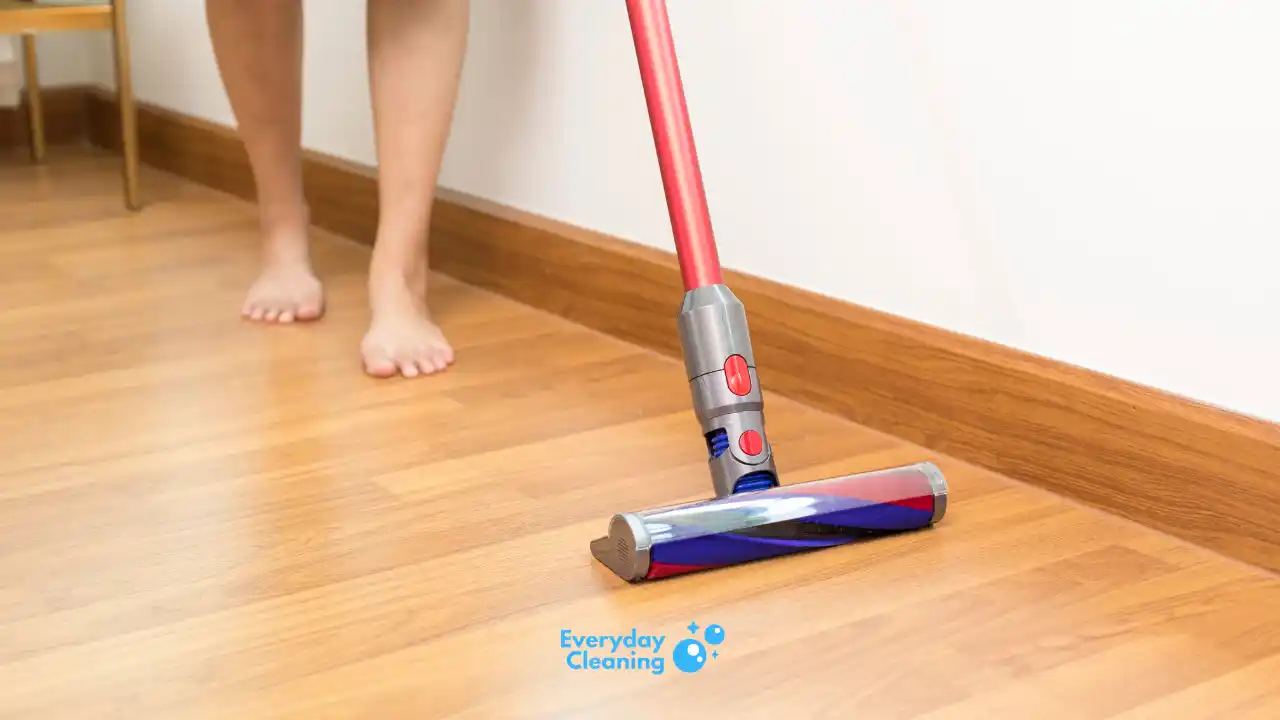
Most people vacuum hardwood floors the same way they vacuum carpet. That’s where the damage starts. The right technique takes about the same amount of time but keeps your floors scratch-free and actually clean.
What You’ll Need
Before you start, make sure your vacuum is set up correctly for hard floors:
- A vacuum with a hard floor setting
- A soft brush roll
- A crevice tool for edges and corners
- A soft-bristle floor attachment if you have one
If your vacuum only has one setting and runs the full beater bar on hard floors, pause and check the manual. Running a stiff rotating brush on hardwood is one of the fastest ways to put fine scratches in the finish.
Step 1: Clear the Floor First
Pick up anything on the floor before you vacuum. Rugs, pet toys, power cables, chair legs. You want a clear path.
Push furniture back if you can. Dust and debris accumulate most under tables and chairs, and vacuuming around legs without moving them means you’re leaving most of it behind.
Step 2: Set Your Vacuum Correctly for Hardwood
This is the step most people skip.
Turn off the beater bar or rotating brush. On most uprights and stick vacuums, there’s a floor selector switch. Set it to hard floor mode. If your vacuum has suction power settings, drop it down from maximum. High suction on smooth, lightweight floors can cause the vacuum to press too hard or become difficult to push.
For robot vacuums, the same logic applies. A robot with strong mopping pressure or stiff brushes can leave swirl marks over time. Check the settings before letting it run unsupervised on hardwood. If you’re looking for a hands-free option, there are robot vacuums built specifically for hardwood and tile surfaces worth considering.
Step 3: Vacuum With the Grain
Always push the vacuum head in the direction of the wood planks, not across them.
Vacuuming perpendicular to the grain forces debris into the gaps between boards instead of picking it up. It also creates more friction on the finish. Parallel strokes are more efficient and gentler on the floor.
Overlap each pass slightly so you don’t leave strips of missed debris.
Step 4: Do the Edges and Corners Separately
The main floor head won’t reach into the edges along baseboards or into tight corners. Switch to the crevice tool and run it along all the edges of the room.
This matters more than most people expect. Fine dust and pet hair collect along baseboards constantly. Skipping the edges means vacuuming the center of the room while the perimeter stays dirty.
If you have pets, you’ll find the most buildup where the floor meets the wall. For homes with heavy shedding, a vacuum designed for hardwood floors with pet hair makes edge cleaning noticeably easier.
Step 5: Deal With Grit and Sand Carefully
Sand and grit are the main enemies of hardwood finish. Foot traffic grinds them into the floor surface and causes fine scratching over time.
If you notice coarse debris like dirt tracked in from outside, don’t just vacuum over it. Do a first slow pass to pick up the heavy stuff, then follow with a normal pass. Rushing over grit with a fast vacuum stroke can drag it across the finish instead of lifting it.
In high-traffic entryways, vacuum at least twice a week. Daily vacuuming near exterior doors is not overkill if you have kids or pets.
Step 6: Check Your Filters Regularly
A clogged filter reduces suction and forces the vacuum to work harder, which means it moves more slowly and can drag against the floor. Clean or replace your filter based on the manufacturer’s schedule.
If your home has people with dust sensitivities or allergies, a HEPA-filtered vacuum makes a real difference on hardwood. Fine dust particles sit on top of hard floors and get kicked back up into the air during vacuuming. A vacuum with sealed HEPA filtration captures them instead. You can compare vacuums with HEPA filters if that’s a priority in your home.
How Often Should You Vacuum Hardwood Floors?
For most homes, two to three times per week is the right frequency. High-traffic areas like kitchens and entryways may need daily passes.
Pet owners should vacuum more often. Pet hair on hardwood clumps up quickly and also carries dander that settles into the finish. Daily vacuuming in pet areas is a reasonable baseline, not excessive. If you have dogs specifically, look at options in best vacuums for dog hair to find a model that handles hardwood without tangling.
Common Mistakes to Avoid
Using a beater bar on hardwood. Rotating brush rolls are built for carpet. On hardwood they scratch the finish and scatter debris more than they pick it up. Always disable the brushroll on smooth surfaces.
Vacuuming in random directions. Moving the vacuum across the grain traps debris in the gaps between planks and causes uneven wear. Always follow the direction of the wood.
Skipping corners and edges. The floor head misses 2 to 3 inches along every wall. If you only use the main attachment, a large portion of your floor stays uncleaned.
Using maximum suction. High suction settings can cause the vacuum head to stick to the floor, making it hard to push and putting extra pressure on the finish. Medium suction is enough for hardwood in most cases.
Waiting too long between sessions. The longer grit and sand sit on the floor, the more they get ground in by foot traffic. Frequent light vacuuming does less cumulative damage than infrequent deep sessions.
Frequently Asked Questions
Can I use any vacuum on hardwood floors?
Most vacuums can be used on hardwood if you disable the beater bar and use the right floor attachment. The problem is uprights and canister vacuums that don’t have a hard floor mode. If the only mode runs a rotating brush at full power, it will scratch your finish over time. Check your vacuum’s settings before using it on wood floors.
Is a robot vacuum safe for hardwood?
Yes, if it’s set up correctly. Most robot vacuums are gentle on hardwood by default because they use soft side brushes rather than stiff beater bars. The risk is models with aggressive mopping pads that press firmly on the surface. Read the specs and check the floor compatibility before running a robot on hardwood. For a shortlist of options, see robot vacuums for tile floors and hardwood.
Should I mop after vacuuming hardwood floors?
Only if needed. Vacuuming handles daily debris well on its own. Mopping every time you vacuum introduces moisture that can warp hardwood over time. A light damp mop once a week or every couple of weeks is usually enough for routine maintenance.
Why does my hardwood floor still look dusty after vacuuming?
Two common causes. First, your vacuum filter may be dirty, reducing suction and releasing fine particles back into the air. Clean or replace the filter. Second, you may be vacuuming across the grain instead of with it, pushing dust into the gaps instead of lifting it. Adjust your technique and the problem typically resolves.
What attachment is best for hardwood floors?
A soft-bristle floor attachment is ideal. It glides smoothly without scratching and creates a good seal for suction. Avoid hard plastic floor heads with stiff brushes, and avoid using the bare floor head without any attachment since that can drag and scratch the finish.