How to Make Homemade Floor Cleaner with Essential Oils (Safe & Non-Toxic)
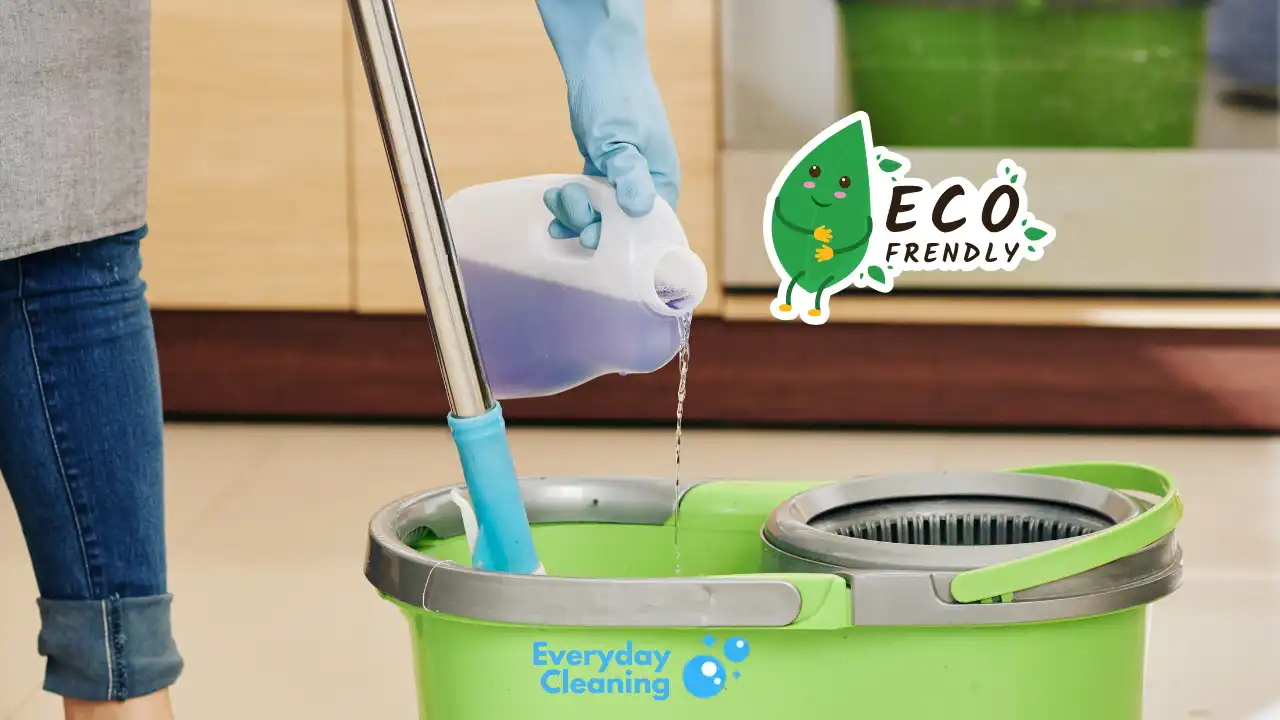
If you have kids and pets running through the house, your floors get dirty fast. I’ve been using this homemade floor cleaner with essential oils in my own home for years now, and it’s still the one I reach for every week.
It takes about five minutes to mix and uses ingredients you probably already have. It smells fresh, and you know exactly what is going into the bottle.
Why Make Your Own Floor Cleaner?
Store bought floor cleaners often come with strong fumes and long ingredient lists. A homemade version keeps things simple. You pick what goes in, you control the scent, and you skip paying for a fancy label.
It also cuts down on waste. You refill the same glass bottle instead of buying a new plastic one every few weeks.
What You’ll Need
This recipe fits in one 16 ounce glass spray bottle. Glass is the better pick here because essential oils can break down some plastics over time.
- 1/2 cup water (filtered or distilled)
- 1 cup white vinegar
- 1/2 cup pure castile soap
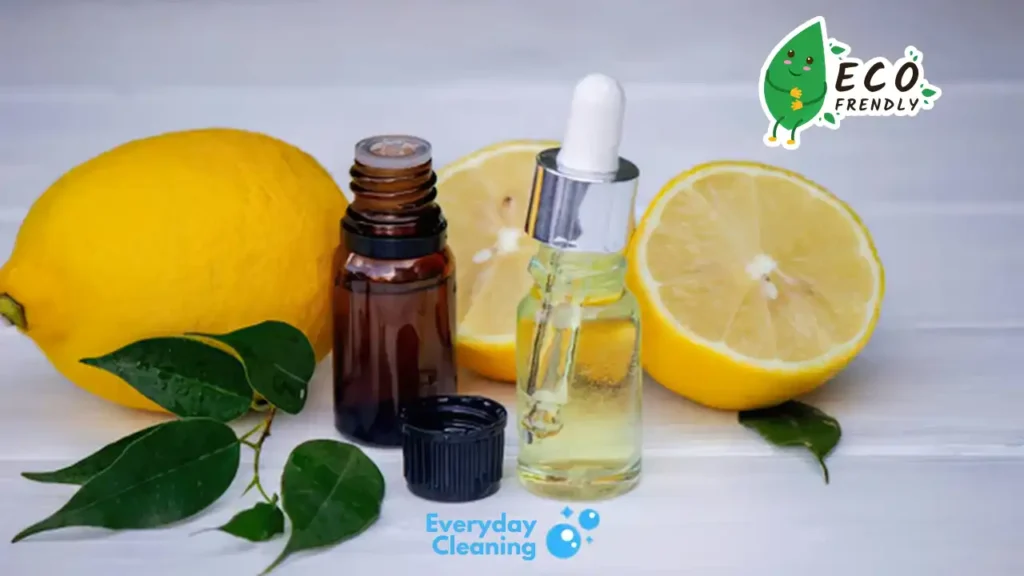
- 15 drops lemon essential oil
- 20 drops tea tree essential oil
- 16 oz glass spray bottle
- A small funnel (optional, but it saves a mess)
Nothing fancy. Most of this is already in your pantry or under the sink.
Why Lemon and Tea Tree Essential Oils?
I make my own blend instead of buying a premade one. Lemon and tea tree are my two picks because both have antimicrobial properties, and the scent is hard to beat. It smells like a clean house the second you finish mopping.
Keep one thing in mind. Essential oils add scent and a little extra cleaning support, but this is not a hospital grade disinfectant.
How to Make Homemade Floor Cleaner with Essential Oils
The whole recipe takes five steps. Order matters a little, so follow it as written.
Step 1: Add the Water
Pour 1/2 cup of water into your spray bottle. A funnel helps here.
Filtered or distilled water is best. It keeps minerals off your floors, so you get fewer streaks and spots.
Step 2: Add the White Vinegar
Add 1 cup of white vinegar. This is the main cleaning power in the recipe, and it cuts through everyday dirt and grime.
Vinegar is useful all over the house. Our guide to DIY vinegar cleaning solutions has more ways to put it to work.
Step 3: Add the Castile Soap
Pour in 1/2 cup of pure castile soap. Go slowly so it does not foam up and overflow.
Castile soap helps lift sticky spots and footprints. Use a pure, unscented or lightly scented one so it does not fight with your essential oils.
Step 4: Add the Essential Oils
Add 15 drops of lemon essential oil and about 20 drops of tea tree essential oil. Count the drops so you do not overdo it.
More oil does not mean a cleaner floor. It just means a stronger smell and a greater chance of residue.
Step 5: Shake Gently and Label the Bottle
Put the spray top on and give the bottle a gentle swirl. That is it, you are done.
Vinegar and castile soap can separate a bit as the bottle sits. Shake it gently before every use, and label the bottle so nobody mistakes it for something else.
How to Use Your Homemade Floor Cleaner
Using it is just as simple as making it. Here is the quick routine.
- Sweep or vacuum first so you are not pushing loose dirt around.
- Shake the bottle gently.
- Spray a small section of floor, about 3 by 3 feet. Do not soak it.
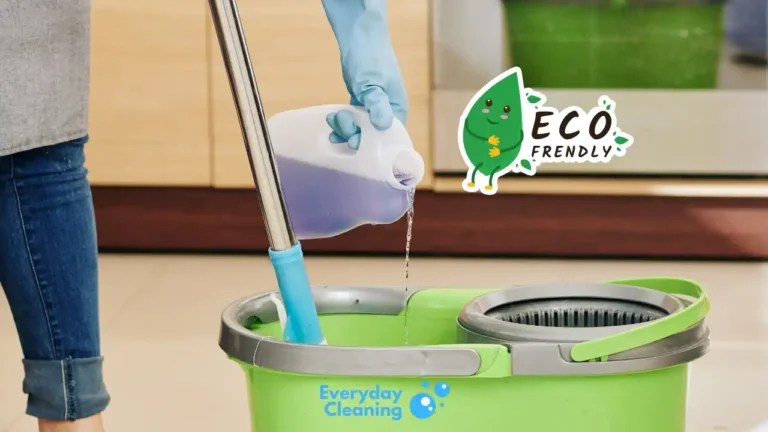
- Wipe with a damp microfiber mop, working in small sections.
- Let the floor air dry.
Start in the far corner of the room and work back toward the door. That way you never step on a freshly cleaned section. Keep a second clean pad handy for a quick buff if you spot streaks.
If your mopping technique needs a refresh, our guide on how to mop a floor the right way covers the steps most people skip.
When you finish, rinse the mop pad well. A dirty pad just spreads grime on your next round, so cleaning your mop head after each use matters more than most people think.
Which Floors Can You Use It On?
This cleaner works best on sealed, water resistant floors. Always test a small hidden spot first.
- Good for: sealed tile, vinyl, linoleum, and sealed laminate (use very little liquid)
- Skip it on: unsealed or waxed wood, and natural stone like marble, granite, or travertine
Vinegar is acidic. On natural stone it can etch the surface, and on wood it can dull the finish over time.
Have hardwood? Check your floor manufacturer’s care instructions first. Our walkthrough on how to mop hardwood floors without damaging them explains how much moisture hardwood can handle.
Safety Tips for Kids and Pets
Natural does not always mean pet safe. This part matters, especially if you share your home with animals.
- Tea tree and citrus oils can be harmful to cats and dogs, especially if they walk through wet floors and lick their paws.
- Keep pets out of the room until the floor is completely dry.
- Cats are more sensitive than dogs. If you have a cat, ask your vet first or leave the essential oils out.
- Open a window or run a fan while you clean.
- Store the bottle out of reach of children and pets.
If you want to play it safe, you can make the cleaner with just water, vinegar, and castile soap. It still cleans well. You just lose the scent.
How to Store It and How Long It Lasts
I like to make a few bottles ahead of time. It saves effort on cleaning day, and a batch lasts a good while.
Keep the bottles in a cool, dark spot, away from sunlight and heat. Light breaks down essential oils faster. If the smell changes or the mix looks off, toss it and make a fresh batch.
Common Mistakes to Avoid
A few small slips can ruin the results. Watch for these.
- Using too much liquid. Water seeps into seams and can warp flooring. Spray lightly and wipe dry.
- Skipping the shake. The mix separates, so the first sprays may be weak.
- Adding extra oil. Stick to the drop counts. Extra oil leaves a slick film.
- Using a plastic bottle. Essential oils can eat into some plastics. Glass lasts longer.
- Skipping the spot test. Every floor reacts a little differently. Test first.
Frequently Asked Questions
Do I need to rinse the floor after using this cleaner?
Usually no. If you spray lightly and wipe with a damp mop, the floor dries clean. If it feels tacky, go over it once with a mop and plain water.
Is this homemade floor cleaner safe for vinyl and laminate floors?
Yes for most sealed vinyl and laminate, as long as you use very little liquid. Wipe up any pooled moisture right away. For more floor specific tips, our vinyl floor cleaning guide goes through daily, weekly, and deep cleaning routines.
Can I use this on tile and grout?
Yes on sealed ceramic and porcelain tile. Spray the area, let it sit for a minute, then wipe. Avoid using vinegar on natural stone tile or unsealed grout, since it can wear them down over time.
Can I pour this into a steam mop?
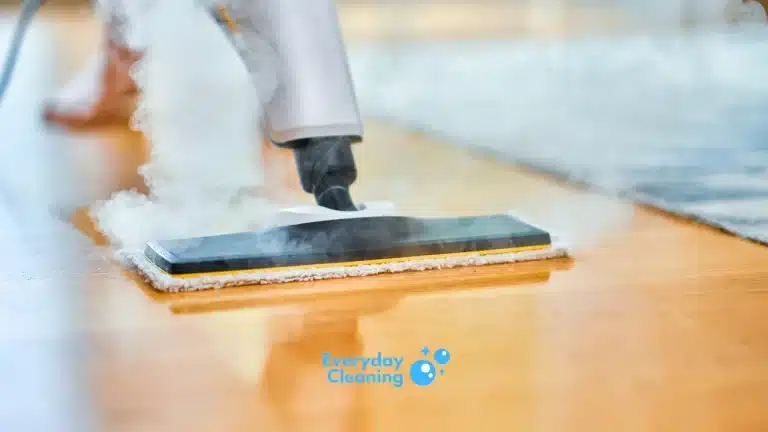
No. Homemade mixes can clog the tank, and most steam mop makers only allow water or their own approved solutions. Read what happens when you put cleaner in a steam mop before you try it.
Is it safe for dogs and cats?
Not automatically. Tea tree and citrus oils can bother pets, so keep them off wet floors until everything dries. When in doubt, skip the oils or ask your vet.
Can I use other essential oils?
Yes. Orange, lavender, and peppermint are popular for scent. Keep the total around 35 drops for a 16 ounce bottle, and remember the same pet cautions apply.
Does this work as well as store bought floor cleaner?
For everyday dirt and light grime, it works great. For heavy grease or when you need true disinfecting, a stronger product is the better tool.
How much does it cost to make?
Very little. A bottle uses a cup of vinegar, half a cup of soap, and a few drops of oil, so the cost per bottle stays low compared to most branded cleaners.