How to Clean Car Seats with a Vacuum (Step by Step)

Car seats trap crumbs, dust, pet hair, and debris in places that are surprisingly hard to reach. Vacuuming them properly makes a bigger difference than most people expect.
What You Need
Grab these before you start:
- Vacuum with a hose and attachments
- Upholstery attachment (wide flat brush head)
- Crevice tool for seams and gaps
- Soft brush attachment for delicate surfaces
The crevice tool is the most critical attachment for car seats. Seats have more narrow gaps and tight seams than almost any other surface you will vacuum.
If you do not own a car-specific vacuum, a compact handheld works well for this job. Our roundup of the best portable car vacuum cleaners covers the most practical options for regular car cleaning.
How to Clean Car Seats with a Vacuum: Step by Step
Step 1: Open All Doors and Move the Seats
Before you touch the vacuum, open all four doors wide. Good access is half the job.
Slide the front seats as far forward as they go, then as far back. Both positions expose different parts of the seat rail and the floor underneath. You will come back to move them again mid-session.
Step 2: Remove Loose Items and Shake Out Floor Mats
Pull out any floor mats and give them a shake outside the car. Vacuum them separately on a flat surface.
Clear out any items from the seat pockets, cup holders, and the gap between the seat and the center console. These areas collect more than most people realize, and loose items just get in the way.
Step 3: Pre-Treat Pet Hair (If Needed)
If your car seats have pet hair worked into the fabric, vacuum it second. Deal with it first.
Put on a rubber glove and rub it across the seat fabric in short strokes. The friction clumps the hair so you can pick it up by hand. Do this before vacuuming or the hair just shifts around and clogs the attachment. A rubber pet hair brush works the same way if you have one.
For heavy pet hair on car upholstery, the same technique we cover in our guide on vacuuming pet hair from couches applies here. The surfaces are similar and the approach is the same.
Step 4: Vacuum the Seat Surface First
Attach the upholstery tool and start at the top of the seat back. Work downward in slow, overlapping rows.
Go slowly. Fast passes pick up surface debris. Slow passes give the suction time to pull material out of the fabric. Overlap each row by an inch or two so you do not leave strips. Move to the seat cushion next, working from back to front in the same overlapping rows.
Step 5: Work the Crevice Tool Into Every Gap
This is where most of the hidden debris lives. Switch to the crevice tool and work through:
- The gap between the seat back and the seat cushion
- Both sides of the seat where it meets the center console and the door
- The seat rail area at the base of each seat
- Any seams or stitched borders on the seat cover
- The headrest base where it connects to the seat back
Take your time in the gap between the seat cushion and the backrest. That slot traps crumbs, coins, and debris constantly. Run the crevice tool the full length of it and repeat twice if the car has not been cleaned in a while.
Step 6: Do the Seat Sides and Back
The sides of the seat backs and the back face of the rear seats collect dust and scuff marks. Most people skip these.
Use the upholstery attachment on the back of the front seats. If you have rear passengers regularly, the back face of the front seats takes a lot of contact and collects debris quickly. Work downward in slow strokes.
Do the sides of the front seats the same way. These surfaces sit against the center console and door panels and collect more dust than you would expect.
Step 7: Vacuum the Floor Under the Seats
Slide the seats forward to access the floor behind them, then back to access the floor in front.
Use the crevice tool for the area along the seat rails where the carpet meets the seat base. Switch to the upholstery or floor attachment for the open floor areas. If the car has rubber mats you already removed, just vacuum the carpet underneath. If the car has carpet mats, vacuum those separately outside the car with firm overlapping strokes.
Fabric vs. Leather Seats: What Changes
Fabric and Cloth Seats
Fabric seats are the most forgiving. The upholstery attachment at full suction works well. Go over seams and stitching with the crevice tool, and do a second pass on the seat cushion if it has visible debris or pet hair worked into it.
Woven fabric holds onto fine dust better than leather. Slow passes matter here more than anywhere else.
Leather and Faux Leather Seats
Use the soft brush attachment on leather. Do not press hard and do not use a stiff bristle head. Leather scratches faster than you think.
Keep suction at a moderate level. You are removing surface dust and debris from seams, not pulling material out of deep fibers. The crevice tool is fine on leather seams as long as you are not dragging it aggressively. Work gently along the stitching lines.
Perforated Leather
Perforated leather seats have small holes across the surface that trap fine dust and debris. The soft brush attachment on moderate suction is the right call here.
Work slowly and let the suction pull material up through the perforations. Going over each section twice gives better results than one fast pass.
Tips That Make a Difference
Empty the canister before you start. A full canister drops suction noticeably. Start the job with a clean filter and empty bin.
Vacuum in two directions on fabric. After a pass going top to bottom, go left to right. Cross-hatching pulls up material the first direction missed.
Use a detailing brush on tight stitching. A small stiff brush used before the vacuum loosens debris packed into decorative stitching. Vacuum it up immediately after.
Do not use a rotating brush roll on leather. The spinning head can scratch the surface or drag on perforations. Stick to non-motorized attachments.
Clean the attachment head mid-session. Hair and debris wrap around the upholstery tool and reduce effectiveness. Pull it off and clear it out after each seat.
When Vacuuming Is Not Enough
Vacuuming removes dry debris. It does not remove stains, odors embedded in fabric, or sticky residue.
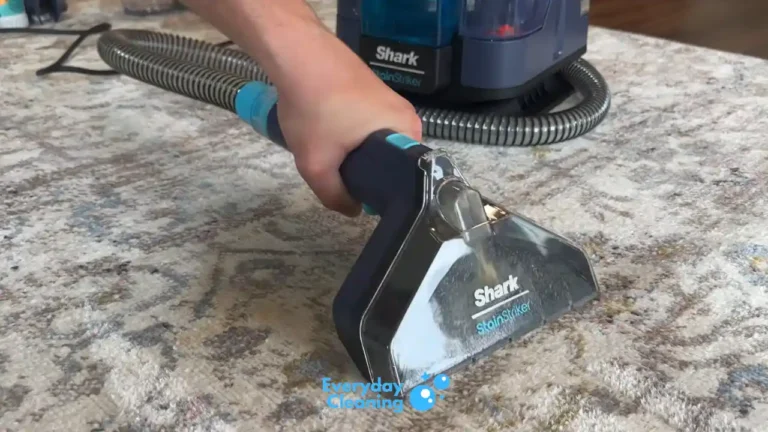
For fabric seats with stains, a carpet cleaner designed for cars handles upholstery stains effectively. These use water extraction and work on the same materials. For sanitizing or deep odor removal, a handheld steam cleaner for upholstery gets into the fabric in a way vacuuming cannot. Always vacuum first, then follow up with wet cleaning if needed. Wet cleaning without vacuuming first just pushes debris deeper into the fabric.
How Often Should You Vacuum Car Seats?
Every two to four weeks is reasonable for regular use. If you transport kids or pets, weekly is more practical.
A quick pass with a handheld every week or two prevents buildup that makes the monthly session much harder. The seats that never get vacuumed until they are visibly dirty take three times as long to clean when you finally get to them.
Frequently Asked Questions
Can I use a regular household vacuum on car seats?
Yes, as long as it has a hose long enough to reach inside the car. A regular vacuum with an upholstery attachment and crevice tool does the job just as well as a dedicated car vacuum. The limitation is cord length and portability. A handheld or cordless vacuum is more convenient for this job.
What is the best attachment for vacuuming car seats?
The crevice tool is the most useful one for car seats specifically. The gaps between seat cushions, along seat rails, and in seat seams are where most debris collects. The upholstery tool handles the flat surface area. You need both.
How do I get crumbs out of the tight gap between the seat and console?
Use the crevice tool at an angle. If the gap is too narrow even for the crevice tool, a thin detailing brush loosens the material first. Then run the crevice tool over it to pull it up. Some people use a wooden chopstick or a thin card to push packed debris toward the opening before vacuuming.
Should I vacuum before or after using a seat cleaner spray?
Always vacuum first. Spraying a wet cleaner onto a seat covered in crumbs and hair pushes dry debris into the fabric and makes it harder to remove. Vacuum dry debris out first, then apply any cleaner to the fabric.
Does vacuuming remove odors from car seats?
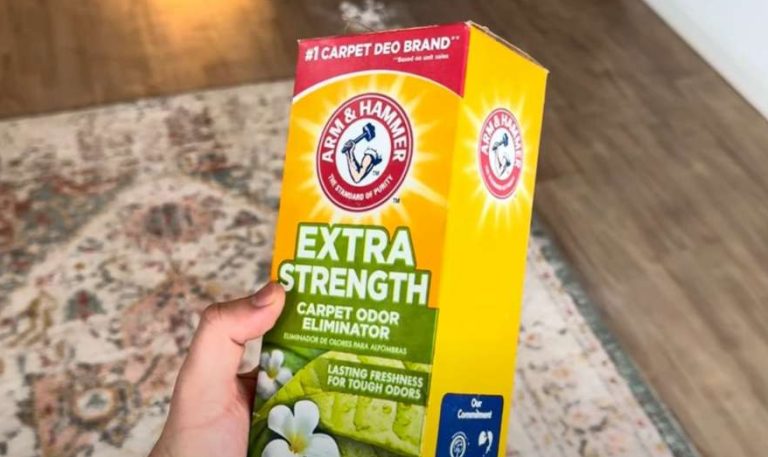
Vacuuming removes the source of some odors like food debris and pet hair. It does not neutralize odors that have absorbed into the fabric fibers. For embedded smells, baking soda left on fabric seats for 20 minutes before vacuuming helps with mild cases. Persistent odors need an enzyme cleaner or steam treatment.