
How to Clean Wool Carpet Without Damaging the Fibers

Table of Contents
Wool carpets add warmth and elegance to any home, but they need special care to stay beautiful. Unlike synthetic carpets, wool fibers are delicate and can shrink or felt if cleaned incorrectly. Don’t worry though – with the right approach, you can keep your wool carpet looking gorgeous for years to come.
Wool naturally repels dirt and moisture, which is great news for homeowners. However, the fibers can be damaged by harsh chemicals, excessive heat, or aggressive scrubbing.
Think of wool like your favorite sweater – it needs gentle, careful handling to maintain its softness and appearance.
Daily Maintenance: Your First Line of Defense
The best way to clean wool carpet starts with prevention. Here’s what you should do regularly:
Vacuum Weekly (But Do It Right)
- Use a vacuum with adjustable suction
- Set it to the lowest effective setting
- Vacuum slowly in both directions
- Avoid beater bars or rotating brushes on delicate wool

Address Spills Immediately
- Blot (never rub) fresh spills with clean paper towels
- Work from outside of the stain toward the center
- Use cold water only for initial treatment
How to Clean Wool Carpet: Complete Step-by-Step
When your beautiful wool carpet starts looking dingy, feels sticky underfoot, or has developed that “lived-in” appearance, it’s time for a thorough deep cleaning. Don’t worry – you can restore its original beauty and softness with the right approach. This process will take you from a tired, dirty carpet to one that looks and feels refreshed.
Pre-Cleaning Assessment
Before you begin, take a few minutes to really examine your carpet. Walk around and identify:
- High-traffic areas that look matted or darker
- Specific stains that need special attention
- Areas where the carpet feels different (sticky, rough, or unusually soft)
- Any loose threads or damaged sections to avoid

This assessment helps you plan your cleaning strategy and ensures you don’t miss problem spots.
Phase 1: Preparation (The Foundation of Success)
Clear the Area Completely Remove all furniture from the carpeted area. Use furniture sliders if needed, but don’t try to clean around furniture. You’ll end up with clean and dirty patches that are obvious once everything’s back in place.
Initial Debris Removal Get down on your hands and knees and pick up any visible debris – pet hair, crumbs, small toys, or paper clips. Your vacuum might miss these, and they can interfere with the cleaning process.
The All-Important Vacuum Session This isn’t your quick weekly vacuum. Spend at least 20-30 minutes on this step:
- Use the lowest suction setting that still picks up dirt
- Go slowly – about one foot per second
- Vacuum in multiple directions: north-south, then east-west
- Pay extra attention to edges where dirt accumulates
- Use the crevice tool along baseboards and corners
You’ll be amazed at how much dirt comes up, even from carpets that look relatively clean.
Phase 2: The Deep Cleaning Process
Method 1: Professional-Grade Home Cleaning (Recommended)
What You’ll Need:
- High-quality wool-safe carpet cleaner (look for pH 6-8 on the label, I highly recommend FOLEX Instant Carpet Spot Remover (#ad))
- 6-8 clean white towels (colored towels can transfer dye)
- Two spray bottles (one for cleaner, one for rinse water)
- Small bowl for mixing
- Soft-bristled brush (optional, for stubborn areas)
- Multiple fans for drying
- Rubber gloves to protect your hands
You might also like: Best Carpet Stain Remover
Step 1: The Crucial Patch Test Choose a hidden corner – behind a door or under where furniture sits. Apply a small amount of your chosen cleaner and wait 10 minutes. Blot with a white towel. If you see any color transfer or if the carpet texture changes, stop and try a different product.
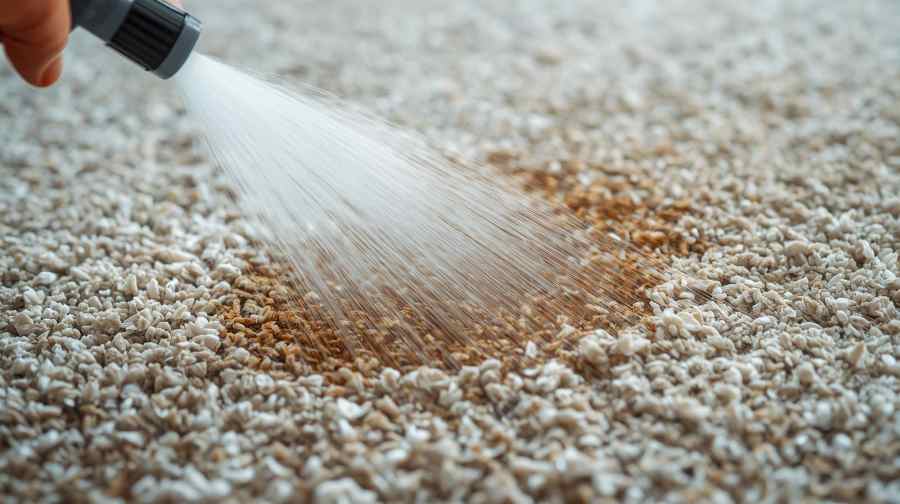
Step 2: Mix Your Cleaning Solution Follow the manufacturer’s directions exactly. More is not better with wool – too strong a solution can damage the fibers permanently. Mix only what you can use in 30 minutes, as some cleaners lose effectiveness when they sit.
Step 3: Work in Manageable Sections Divide your carpet into 3×3 foot sections. Working section by section ensures even cleaning and prevents the solution from sitting too long on the wool.
Step 4: Apply the Cleaning Solution
- Spray lightly and evenly across the section
- The carpet should be damp, not soaked
- Work from the farthest corner toward your exit point
- If you see the carpet getting too wet, stop and blot before continuing
Best Carpet Stain Remover I’ve Tested: Folex (Read more)
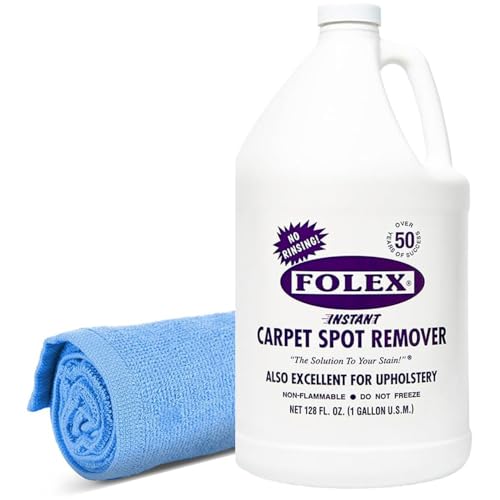
- INSTANT RESULTS. No rinsing, vacuuming or waiting to see results. Spots vanish before your eyes. Amazing surfactant action – instantly removes stubborn grease, dirt and grime.
Step 5: The Gentle Working Process Here’s where patience pays off:
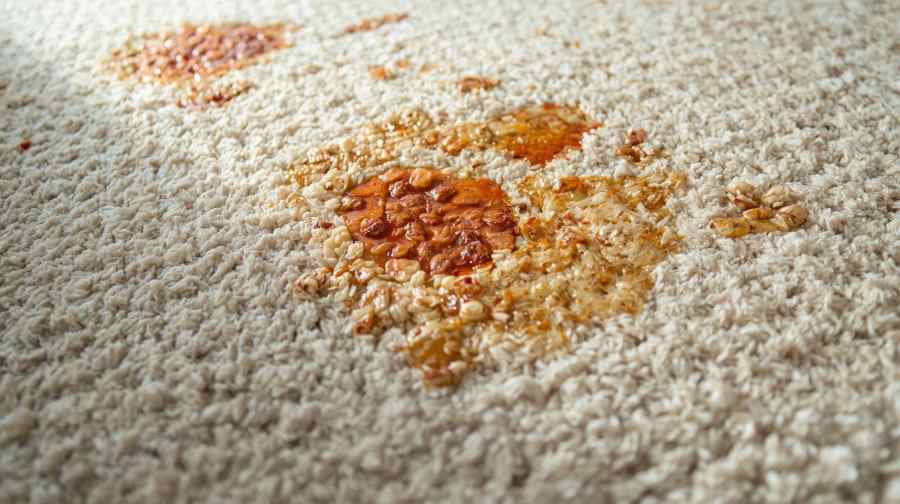
- Let the solution sit for exactly the time recommended (usually 5-10 minutes)
- Using clean towels, press firmly and lift straight up – never rub or scrub
- Change to a clean section of towel frequently
- You’ll see dirt transferring to the towel – this is good!
- For stubborn spots, use a soft brush in gentle circular motions
Step 6: The Critical Rinse Phase This step separates amateur from professional results:
- Fill your second spray bottle with clean, lukewarm water
- Spray the section lightly to remove cleaning residue
- Blot thoroughly with clean towels
- Repeat the rinse and blot process until towels come up clean
- Any soap residue left behind will attract dirt quickly
Step 7: Extract Maximum Moisture
- Press dry towels firmly into the carpet
- Walk on the towels to press out more water
- Change towels when they become saturated
- The carpet should feel damp but not wet when you’re done
Method 2: Natural DIY Deep Cleaning Solution
For those who prefer homemade cleaners or have sensitivities to commercial products:
Enhanced Natural Cleaning Solution:
- 2 cups lukewarm water
- 2 tablespoons white vinegar (acts as natural deodorizer)
- 1 teaspoon gentle dish soap (Dawn or similar, but check that it’s wool-safe)
- 1 teaspoon baking soda (helps lift odors)

Why This Works: The vinegar breaks down soap residue and neutralizes odors, while the gentle soap lifts dirt. Baking soda absorbs lingering smells. This combination is much gentler than commercial cleaners but still effective.
Application Process: Follow the same sectional cleaning method as above, but allow extra time for the natural ingredients to work. You might need to repeat the process on heavily soiled areas.
Phase 3: The Drying Process (Critical for Success)
Immediate Action Required: Start the drying process immediately after cleaning. Wool that stays damp for more than 6-8 hours can develop mold, mildew, or permanent odors.
Set Up Your Drying System:
- Place fans around the room, pointing toward the carpet
- Open windows if weather permits (but avoid direct sunlight on wet wool)
- Turn on air conditioning or heating to reduce humidity
- Use a dehumidifier if you have one
Monitor the Progress:
- Check every 2 hours by pressing a clean towel into different areas
- The carpet should be completely dry within 6-8 hours
- If it’s taking longer, add more fans or reduce room humidity
Phase 4: Post-Cleaning Care
The First 24 Hours:
- Keep foot traffic to a minimum
- Don’t replace furniture until the carpet is completely dry
- Vacuum lightly after 24 hours to lift any loosened dirt
What Success Looks Like: When you’ve done it right, your wool carpet will:
- Feel soft and springy underfoot
- Look evenly colored without dark or light patches
- Smell fresh, not soapy or musty
- Have a slight natural sheen that wool develops when clean
You might also like: How to Clean Different Types of Carpets
Tackling Common Stains on Wool Carpets
Red Wine and Dark Beverages

What You’ll Need: Paper towels, cold water, wool-safe stain remover, white vinegar
Step-by-Step Process:
- Act within the first 2-3 minutes for best results
- Blot (don’t rub) with clean paper towels to absorb as much liquid as possible
- Pour a small amount of cold water around the stain’s edges
- Continue blotting from outside toward center to prevent spreading
- Mix 1 part white vinegar with 3 parts cold water
- Apply the vinegar solution sparingly with a clean cloth
- Blot again with dry towels
- Rinse with cold water and blot until no cleaning solution remains
- Place clean towels over the area and weigh them down to absorb remaining moisture
Important: Never use salt on wine stains – it actually sets the stain permanently into wool fibers.
Pet Accidents (Urine, Vomit, Feces)
What You’ll Need: Rubber gloves, paper towels, enzyme cleaner (wool-safe), baking soda, white vinegar
For Fresh Accidents:
- Put on rubber gloves immediately
- Remove any solid waste with paper towels
- Blot liquid accidents – press firmly but don’t rub
- Mix equal parts cold water and white vinegar
- Apply solution lightly and let sit for 5 minutes
- Blot thoroughly with clean towels
- Apply wool-safe enzyme cleaner according to package directions
- Cover with baking soda and let sit overnight
- Vacuum up baking soda the next morning
- Check for odor – repeat enzyme treatment if needed
For Set-in Pet Stains:
- Rehydrate the stain with cold water
- Apply enzyme cleaner generously and work it in gently with fingers
- Cover with plastic wrap and let sit for 24 hours
- Remove plastic and blot up moisture
- Rinse thoroughly and ensure complete drying
Mud and Tracked-in Dirt
What You’ll Need: Patience (let it dry first!), vacuum, soft brush, wool cleaner
The Right Approach:
- Don’t panic and don’t wet it immediately – this is the biggest mistake people make
- Let mud dry completely (this might take 2-4 hours)
- Vacuum up as much dried mud as possible using upholstery attachment
- Use a soft brush to gently loosen remaining particles
- Vacuum again to remove loosened dirt
- For any remaining stain, apply wool-safe cleaner sparingly
- Blot with clean cloth – never scrub mud stains
- Rinse with cold water and blot dry
Grease and Food Stains
What You’ll Need: Ice cubes, plastic scraper, cornstarch, wool-safe degreaser
For Fresh Grease:
- Don’t use water initially – it will spread the grease
- Sprinkle cornstarch or baking soda over the stain immediately
- Let it sit for 15-20 minutes to absorb the grease
- Vacuum up the powder
- Apply a small amount of wool-safe degreasing agent
- Work it in gently with a clean cloth
- Blot with damp cloth to remove cleaner residue
- Dry thoroughly with fan if possible
For Hardened Food Stains:
- Use ice cubes to harden the residue
- Gently scrape away what you can with a plastic scraper
- Follow the fresh grease treatment steps above
Blood Stains
What You’ll Need: Cold water only, hydrogen peroxide (3%), clean cloths
Critical Rule: Never use warm or hot water on blood – it will set the protein permanently.
Fresh Blood:
- Blot up as much as possible immediately
- Rinse with cold water only
- Continue blotting and rinsing until no more blood comes out
- If stain persists, apply a tiny amount of hydrogen peroxide
- Let it foam for 30 seconds, then blot immediately
- Rinse thoroughly with cold water
Dried Blood:
- Make a paste with cold water and salt
- Apply to stain and let sit for 10 minutes
- Gently work the paste in with your fingers
- Rinse with cold water and blot
- Use hydrogen peroxide method above if needed
Coffee and Tea Stains
What You’ll Need: Cold water, white vinegar, wool-safe cleaner
Immediate Treatment:
- Blot up liquid immediately – speed is crucial
- Pour cold water over the stain to dilute it
- Continue blotting to remove as much as possible
- Mix 1 tablespoon white vinegar with 1 cup cold water
- Apply solution and let sit for 5 minutes
- Blot thoroughly and rinse with cold water
For Cream-Based Coffee Drinks:
- Follow coffee treatment first
- Then treat any remaining residue like a grease stain (see above)
- The protein in milk can be stubborn, so patience is key
Ink and Marker Stains
What You’ll Need: Rubbing alcohol (isopropyl), cotton swabs, clean cloths
Water-Based Ink (Washable Markers):
- Blot with cold water immediately
- Apply small amounts of cold water and continue blotting
- Usually comes out easily if caught quickly
Permanent Ink:
- Test rubbing alcohol in an inconspicuous area first
- Dab (don’t pour) alcohol on a cotton swab
- Gently dab the stain – don’t rub or spread it
- Blot with clean cloth to remove dissolved ink
- Rinse with cold water and blot dry
- Repeat if necessary, but work slowly to avoid damage
Professional Help Needed: If the stain covers more than a few inches or doesn’t respond to gentle treatment, call professionals. Wool fibers can be permanently damaged by aggressive ink removal attempts.
Maintaining Wool Carpet Beauty Long-Term
Regular maintenance makes deep cleaning easier and extends your carpet’s life. Set up a simple schedule:
- Daily: Pick up debris and wipe up spills immediately
- Weekly: Gentle vacuuming with proper settings
- Monthly: Check for any developing problems or stains
- Seasonally: More thorough vacuuming and spot treatment
- Annually: Professional cleaning and protection treatment
Remember, wool carpets can last decades with proper care. The extra attention you give them now will pay off in their continued beauty and durability.
Your wool carpet is an investment in your home’s comfort and style. With these gentle, effective cleaning methods, you can enjoy its natural beauty while keeping it fresh and clean for years to come.
One Comment
Comments are closed.