
How to Pressure Wash a Patio: Step-by-Step Guide
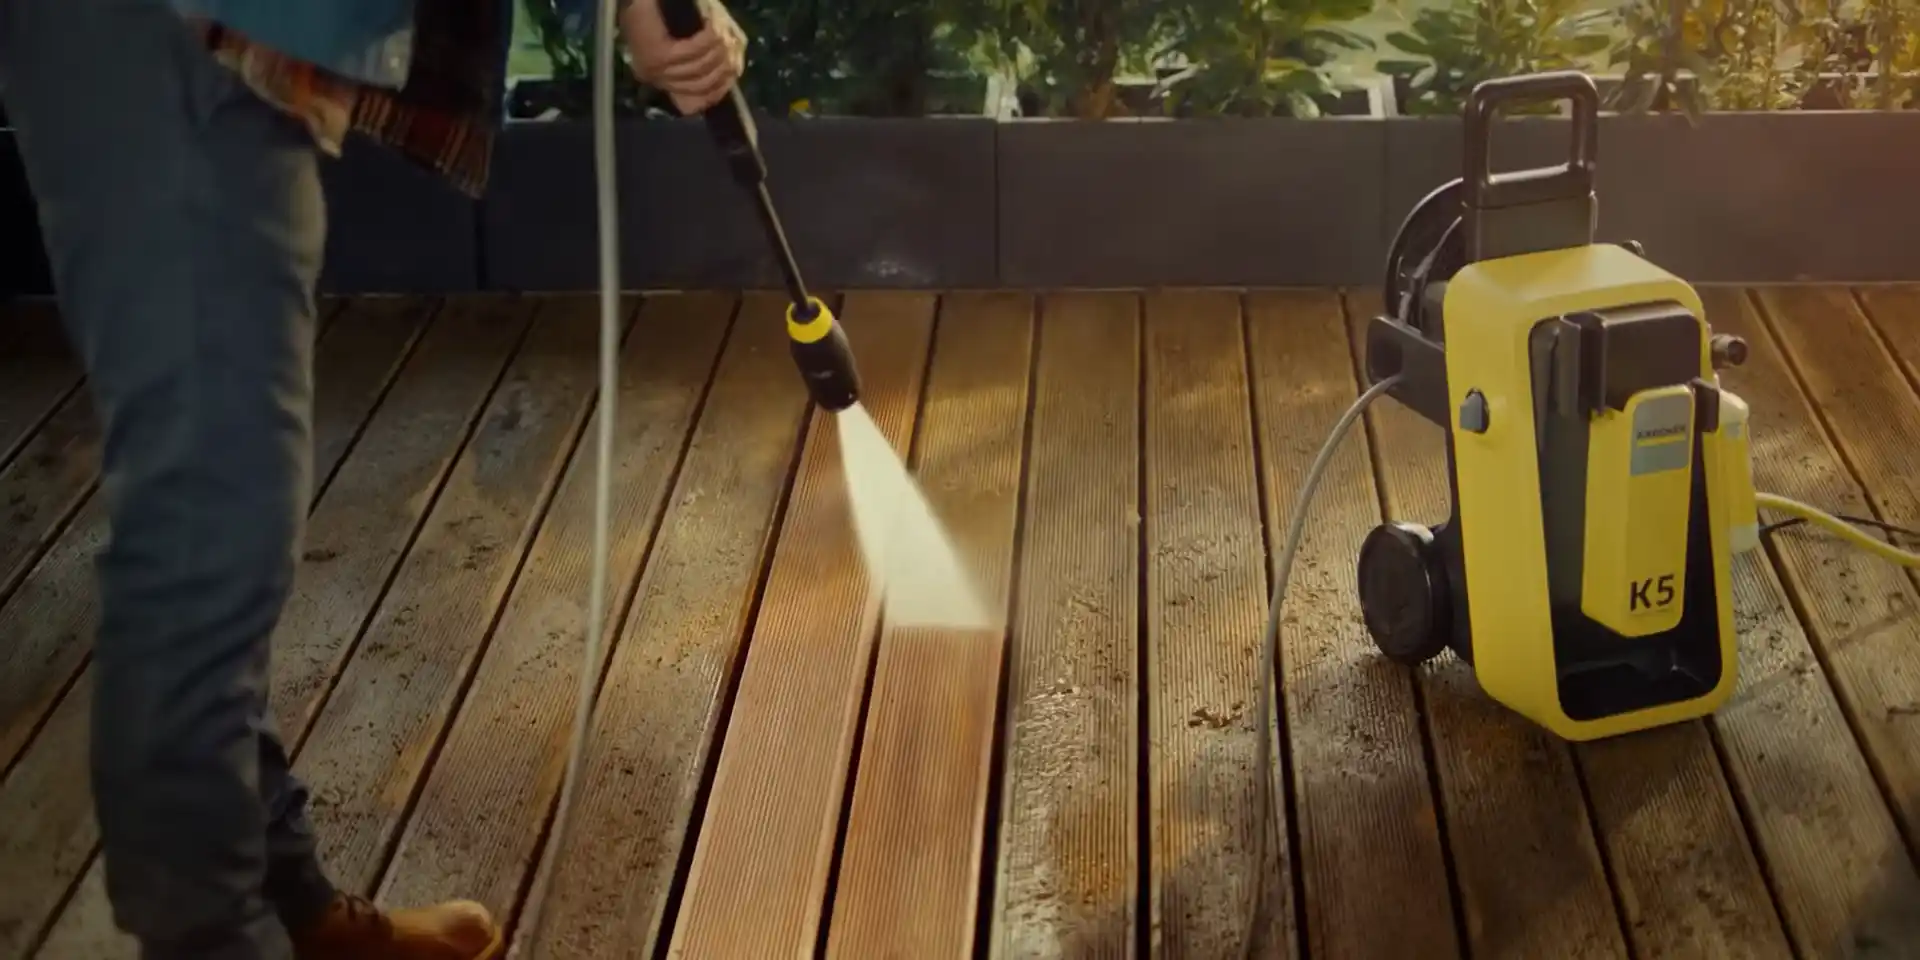
A dirty patio covered in algae, grime, and winter buildup does not clean itself. Fortunately, pressure washing cuts through all of that in under an hour if you do it right.
This guide walks you through exactly how to pressure wash a patio from start to finish, including what equipment you need, how to prep the area, and the right technique for different surface types.
What You’ll Need
Before you start, get everything in one place. Nothing is worse than stopping mid-job because you forgot something.
- A good quality pressure washer (electric or gas)
- Patio cleaning solution or outdoor detergent
- A stiff-bristled yard brush
- A bucket for mixing your solution
- Safety goggles and waterproof footwear
You do not need anything exotic here. A mid-range electric pressure washer handles most residential patios without a problem. If you are tackling heavy staining on concrete or block paving, a gas model gives you more power. If you want help choosing, our best pressure washer for patios guide covers the top options with honest reviews.
Step 1: Clear and Prep the Area
Move everything off the patio first. Furniture, planters, doormats, garden ornaments. All of it.
Once the patio is clear, grab your stiff yard brush and sweep the surface thoroughly. Get rid of loose leaves, dirt, twigs, and debris before any water touches the area. Sweeping dry debris first stops it from turning into muddy paste that clogs things up during washing.
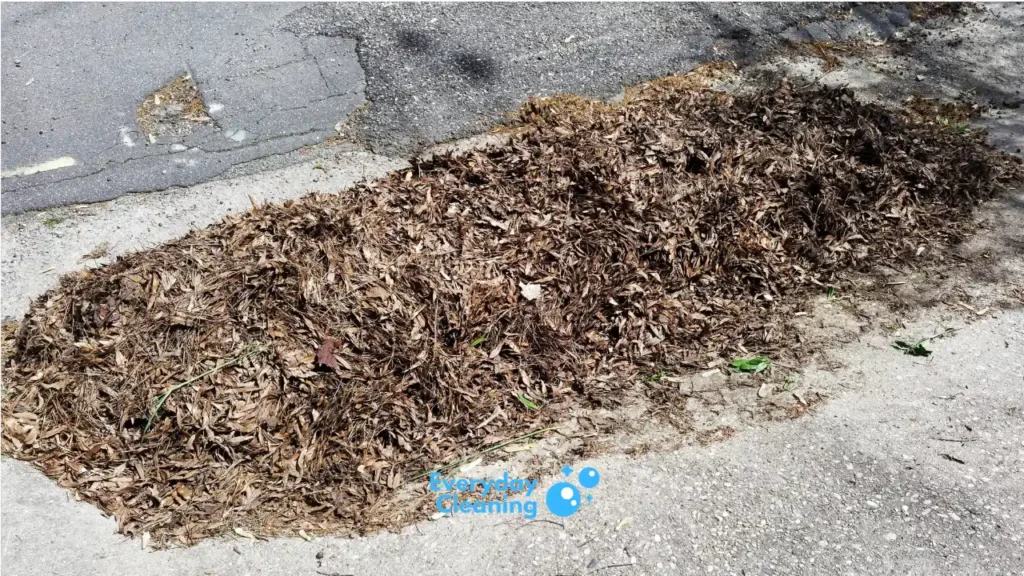
Check the edges and corners too. Those spots collect the most buildup and are easy to overlook.
Step 2: Apply Your Cleaning Solution
Mix your patio cleaning solution according to the label instructions.
Apply the solution evenly across the patio surface using either your bucket and brush or the pressure washer’s built-in detergent dispenser. Many modern pressure washers have a soap tank that dilutes the cleaner automatically as it applies. If your machine has that feature, use it.
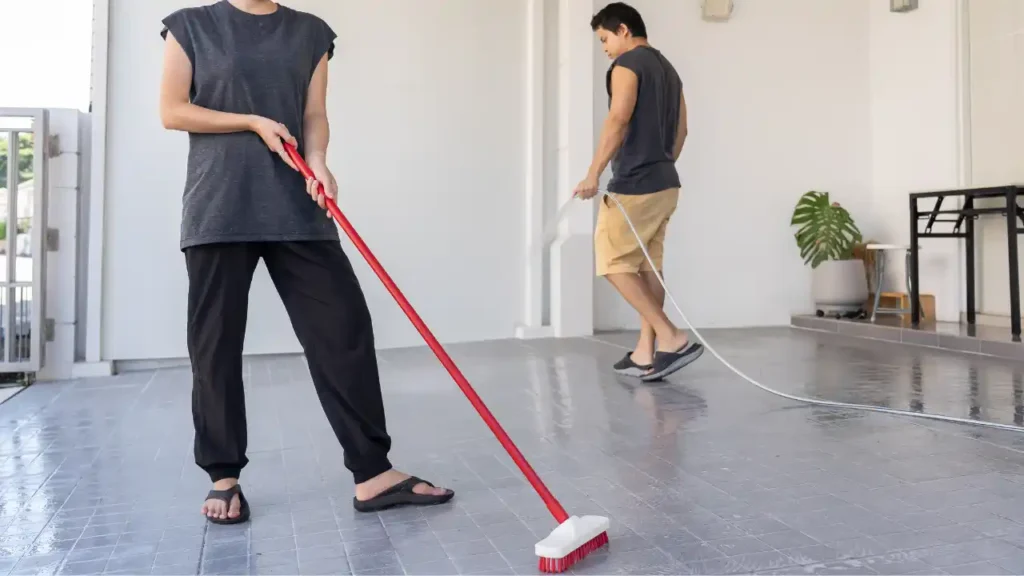
Work the cleaning solution into the surface using your hard yard brush. Scrub in circular motions, paying extra attention to green algae patches, dark staining, and grout lines between pavers.
Once you have scrubbed the solution in, leave it to sit for 5 to 10 minutes. This is not optional. The cleaner needs time to break down organic growth and grime before the pressure washer removes it. Skipping this step means more passes with the washer and worse results.
Step 3: Set Up Your Pressure Washer
Connect your garden hose to the water inlet on the pressure washer. Turn the tap on fully before starting the machine.
Choose the right nozzle for the surface you are cleaning. Most pressure washers come with several nozzle tips:
- 25-degree nozzle: The right choice for most patio surfaces including concrete slabs, block paving, and brick. Wide enough to cover ground quickly without damaging the surface.
- 40-degree nozzle: Good for softer surfaces or more delicate stonework where you want lower pressure.
- Turbo/rotary nozzle: Covers ground faster than standard nozzles and is effective on heavily stained concrete. Not recommended for wooden decking.
Avoid narrow-angle nozzles (0-degree or 15-degree) on patio surfaces. They concentrate too much force and can etch concrete or strip wood fibers.
For most residential patios, aim to stay in the 1,500 to 2,500 PSI range. Higher pressure is not always better. More PSI on the wrong surface causes damage that is expensive to repair. If you are unsure what your patio needs, the guide on how to pressure wash concrete covers PSI and technique in more detail.
Step 4: Pressure Wash the Patio
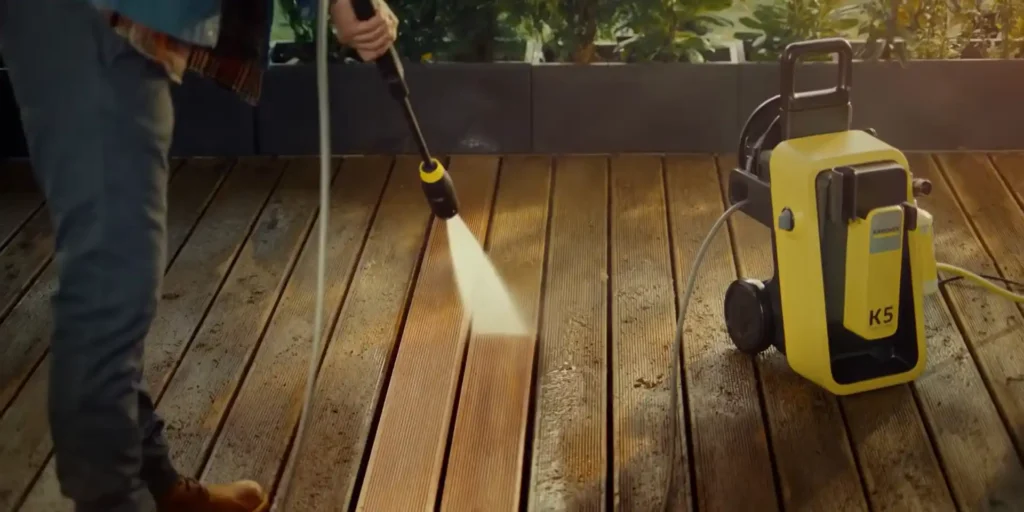
Start from one end of the patio and work toward the other. Hold the lance at a consistent distance from the surface, roughly 6 to 12 inches away, and keep it moving at all times. Never hold the spray in one spot or you will create uneven marks or surface damage.
Use overlapping, sweeping passes. Think of it like mowing a lawn. Go in one direction, overlap your previous pass by a few inches, and keep the angle consistent.
Wash toward a drain or away from your home. You do not want dirty water pooling near the foundation or running back toward the house.
Concrete Slabs and Block Paving
These surfaces handle higher pressure well. Use the 25-degree nozzle and work in consistent rows. Block paving joints may lose some sand over time from repeated washing, so fill them with jointing sand after the patio dries if needed.
For heavy staining on concrete, try the turbo nozzle. It cuts through stubborn grime faster. If you find even that is not enough, a dedicated concrete cleaner for pressure washers applied before washing can make a big difference.
Natural Stone and Slate
Drop the pressure slightly with natural stone. Start further away and test a small inconspicuous area first. Some stone is softer and porous, and too much pressure can damage the surface or force water into cracks.
Use the 40-degree nozzle and keep the wand moving at a relaxed pace. Let the cleaning solution do most of the work.
Wooden Decking
Wood requires a softer touch. Use the 25-degree or 40-degree nozzle, keep your distance at 12 inches or more, and always wash in the direction of the wood grain. Going against the grain can raise wood fibers and leave a rough finish.
Avoid holding the nozzle at a steep angle to the wood. Keep it fairly flat to reduce the chance of splintering or marking. If you are working on composite decking, check the manufacturer’s guidance first as some composite materials have lower pressure limits. Our best pressure washer for composite decking roundup has more detail on that.
Step 5: Rinse and Check Your Work
Once you have gone over the whole patio, do a final rinse with clean water to flush away any remaining detergent. Leaving cleaning solution on the surface can leave a residue or cause it to look patchy once it dries.
Step back and look over the patio while it is still wet. If you spot areas that did not come up clean, go back over them before the surface dries. It is much easier to touch up while the machine is still set up.
Allow the patio to dry completely before putting furniture and items back. Full drying can take a few hours depending on weather and surface material. Do not rush this if you plan to seal the surface afterward.
Common Mistakes to Avoid
Using too much pressure on the wrong surface. This is the most common error. More PSI does not mean better results. Match the pressure to the surface type and you will get better results with less risk.
Skipping the pre-soak step. Applying cleaning solution and immediately blasting it off before it has time to work is a waste of product. Let it sit. Five to ten minutes makes a real difference.
Holding the nozzle in one spot. This causes visible marks and can etch or damage the surface. Always keep the wand moving.
Standing water pooling near the house. Angle your washing so water drains away from your foundation. Consistent pooling around the base of your home can cause long-term problems.
Not wearing protective gear. Pressure washers produce a strong rebound spray. Eye protection is not optional. Wear it every time.
How Often Should You Pressure Wash a Patio?
Once a year is enough for most patios. Spring or early summer is the most practical time, right after winter grime and algae have built up. In shaded or damp areas, you may need to wash twice a year to keep algae and mold from becoming thick.
Patios in full sun stay cleaner longer. Shaded patios under trees or near fences tend to stay damp and attract green growth faster. If mold is a recurring issue, check out this guide on the best pressure washer for mold for machines with enough power to clear it properly.
Frequently Asked Questions
What PSI do I need to pressure wash a patio?
For most patio surfaces, 1,500 to 2,500 PSI is sufficient. Concrete and block paving can handle the higher end of that range. Natural stone and wood should stay closer to 1,500 PSI. Residential electric pressure washers typically fall between 1,600 and 2,300 PSI and work well for patio cleaning without risking damage.
Can I pressure wash a patio without cleaning solution?
Yes, but results will not be as good on patios with heavy algae, mold, or embedded staining. Water alone shifts surface dirt well. For anything organic like green growth or dark staining, a cleaning solution breaks it down first and lets the pressure washer finish the job more efficiently.
How long does it take to pressure wash a patio?
An average-sized residential patio takes between 30 and 60 minutes, including prep and rinsing. Larger patios or heavily soiled surfaces take longer. The pre-soak step adds 10 minutes but saves time overall because it reduces the number of passes needed.
Is it safe to pressure wash block paving?
Yes, block paving handles pressure washing well. The main thing to watch is the jointing sand between blocks. High pressure can wash it out over time. Inspect the joints after washing and top up with kiln-dried jointing sand if needed to keep the paving stable.
Should I seal my patio after pressure washing?
Sealing is worth doing on concrete, block paving, and natural stone after cleaning. A sealant locks out moisture, slows algae growth, and makes the next clean much easier. Wait until the surface is fully dry before applying, usually at least 24 to 48 hours after washing.
Can I use a pressure washer on a wooden deck?
Yes, with care. Use a wide-angle nozzle, keep distance at 12 inches or more, and always follow the wood grain. Avoid very high pressure settings. Done correctly, pressure washing is one of the most effective ways to clean and prep a wood deck before resealing or staining. For dedicated deck cleaning, the best pressure washer for decks guide covers the top picks and technique tips.



One Comment
Comments are closed.