The Complete Guide to Cleaning Nylon Carpet
Table of Contents
Nylon carpet is one of the most popular flooring choices for good reason—it’s durable, resilient, and looks great in any room. But like all carpets, it needs regular care to stay fresh and beautiful. The good news? Cleaning nylon carpet is easier than you might think, and you probably already have most of what you need at home.
Nylon fibers are synthetic, which means they’re naturally stain-resistant and bounce back well from foot traffic. However, they can attract oils and hold onto odors if not cleaned properly. Understanding your carpet’s material helps you choose the right cleaning approach.
See more: How to Clean Different Types of Carpets
Daily Maintenance
Your nylon carpet may look fine on the surface, but dirt, dust, and tiny particles are working their way deep into the fibers every single day. The secret to a carpet that looks newer longer? Consistency with these simple daily habits.
The Smart Vacuuming Strategy for Your Nylon Carpet
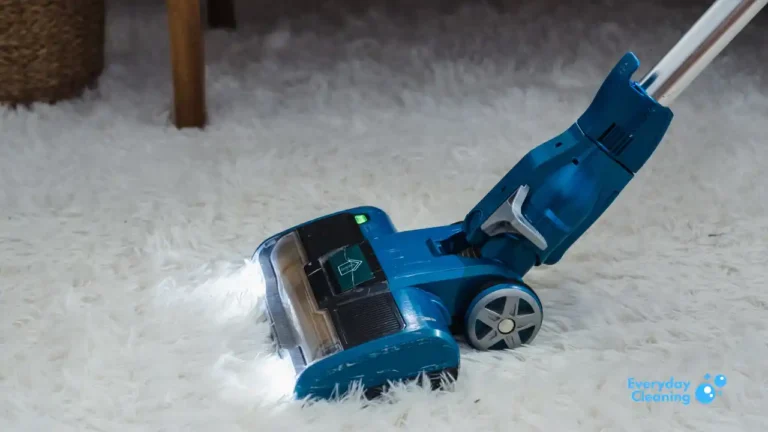
Most people vacuum wrong, and their carpets pay the price. Here’s how to vacuum your nylon carpet like a pro:
High-Traffic Areas Need Daily Attention
Entryways, hallways, and living room pathways collect 80% more dirt than other areas. These spots need daily vacuuming—just a quick 2-minute pass makes all the difference. Think about it: every footstep grinds dirt deeper into your carpet fibers. Daily removal stops this damage before it starts.
The Two-Direction Rule
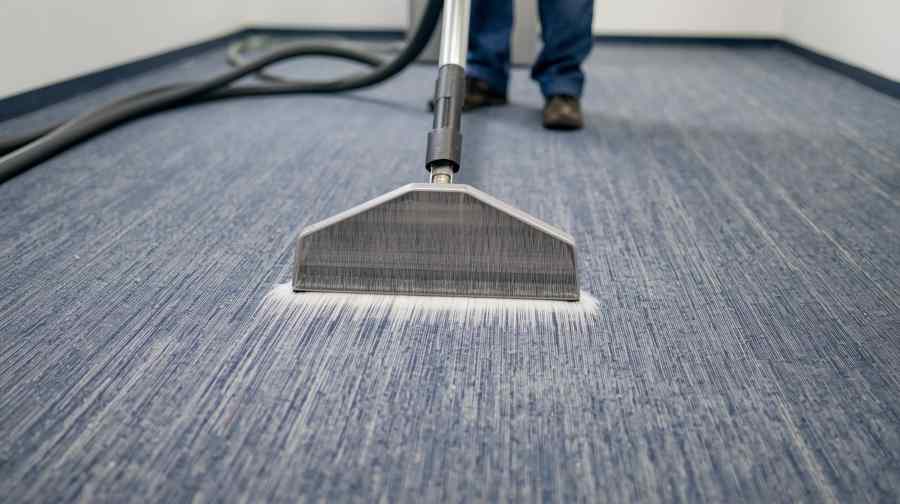
Professional carpet cleaners swear by this technique: vacuum each area twice, changing direction the second time. First, go north-to-south, then east-to-west. This cross-pattern lifting loosens dirt that one direction misses. Your carpet will feel noticeably fluffier, and you’ll be amazed at how much more dirt comes up.
Vacuum Speed
One slow pass beats three fast ones every time. Move your vacuum at about one foot per second. Count “one Mississippi” for each foot—this gives the brush roll time to agitate and lift embedded particles. Fast vacuuming just pushes dirt around.
Height Settings
That little dial on your vacuum isn’t decoration—it’s crucial for nylon carpet care. Set too low, and you’ll damage fibers. Too high, and you’ll miss dirt entirely. The perfect height lets the brush barely touch the carpet surface while still creating suction. Test it: you should feel slight resistance when pushing, but not struggle.
Master the Art of Immediate Spill Response
Every second counts when liquid hits your nylon carpet. Here’s your step-by-step emergency response plan:
The First 60 Seconds Are Critical
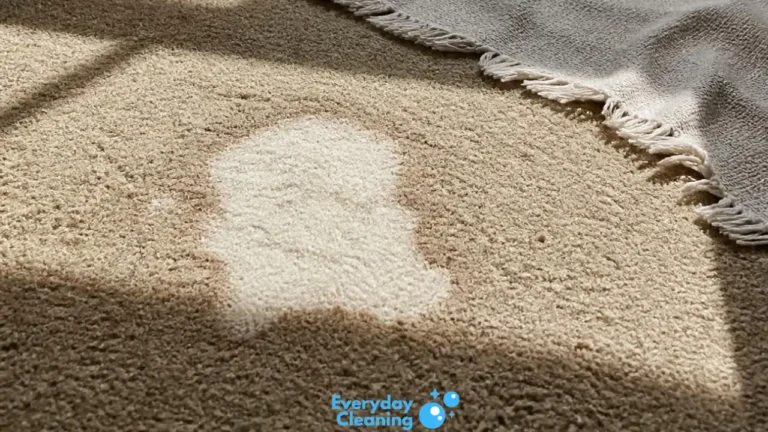
Don’t panic, but do act fast. The longer liquid sits, the deeper it penetrates. Nylon fibers are forgiving, but they’re not magic. After 60 seconds, that innocent spill starts its journey toward becoming a permanent stain.
Blotting Technique
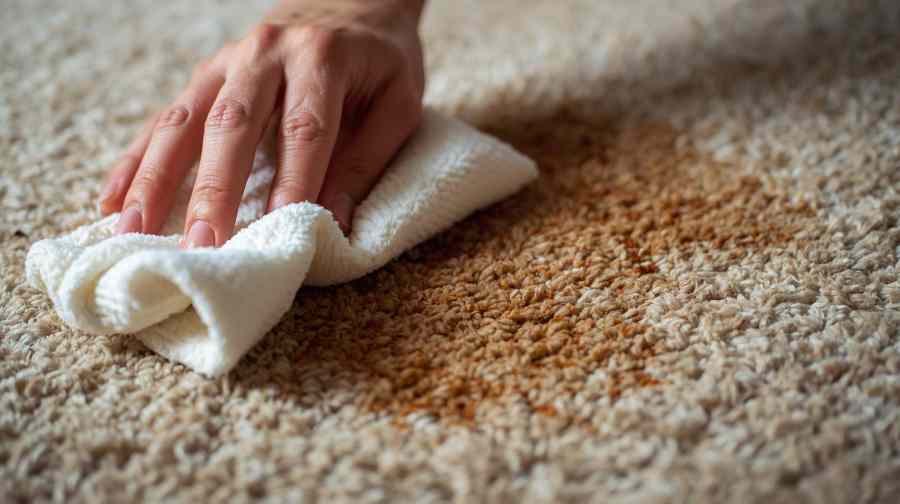
Grab the cleanest, whitest cloth you can find—never use colored towels that might transfer dye. Press down firmly and lift straight up. Don’t rub, scrub, or make circular motions. These actions spread the spill and damage carpet fibers. Think “press and lift, press and lift” like you’re giving carpet CPR.
The Outside-In Strategy
Start blotting from the very edge of the spill, working toward the center. This prevents the liquid from spreading outward and creating a bigger mess. Many people instinctively start in the middle and accidentally make a small spill into a large one.
Cold Water
For 90% of spills, cold water is your best first response. Hot water can actually set certain stains permanently—especially protein-based ones like blood or food. Keep a spray bottle of cold water handy in your cleaning supplies. A light mist followed by immediate blotting works wonders.
The Final Dry-Down
After removing the liquid, place several layers of paper towels over the area and press down with something heavy—a book or your foot works great. Leave this “weight” for 10-15 minutes to draw out any remaining moisture. Trapped moisture leads to mold and mildew, turning a simple spill into a health hazard.
Deep Cleaning Methods for Nylon Carpet
When regular vacuuming isn’t enough, it’s time for targeted deep cleaning. Each type of stain needs its own special approach—what works for coffee won’t work for grease, and using the wrong method can actually make stains worse. Here’s your complete guide to tackling every common carpet enemy.
Food and Beverage Stains
Coffee and Tea Stains
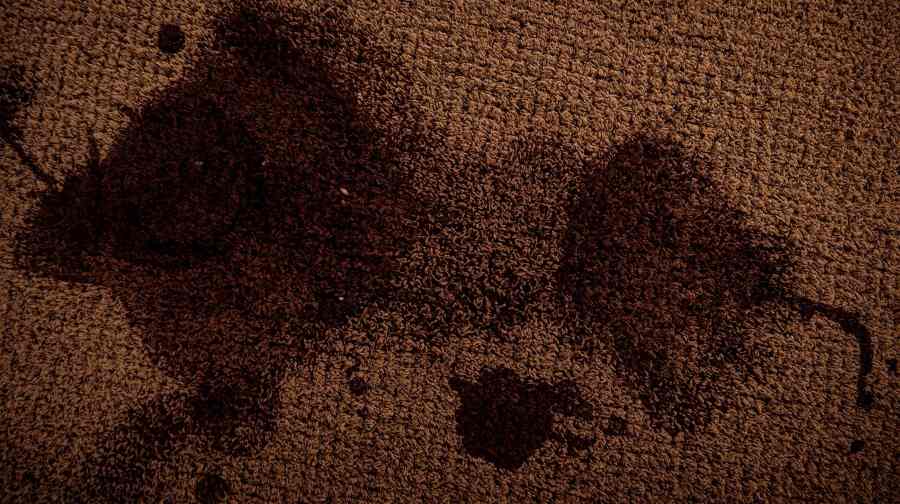
These tannin-based stains love to set quickly, but nylon carpet gives you a fighting chance if you act smart.
What you’ll need:
- 1 tablespoon white vinegar
- 1 tablespoon liquid dish soap
- 2 cups cool water
- Clean white cloths
- Paper towels
Step-by-step process:
- Blot up as much liquid as possible—don’t let it soak deeper
- Mix your cleaning solution in a bowl (never directly on carpet)
- Apply solution with a clean cloth, working from outside edges inward
- Let sit for 5 minutes—this gives the vinegar time to break down tannins
- Blot with fresh cloth, rinse with cool water, and blot dry
- If stain persists, repeat once more before trying stronger methods
Red Wine and Juice Stains
The nightmare stain that makes everyone panic—but nylon’s synthetic fibers actually resist these better than natural carpets.
Emergency response (first 2 minutes):
- Pour cold water immediately to dilute the stain
- Blot repeatedly with paper towels
- Sprinkle table salt generously to absorb remaining liquid
- Let salt sit for 10 minutes, then vacuum
Deep cleaning method:
- Mix 1 part white vinegar with 3 parts cool water
- Spray lightly and let bubble for 30 seconds
- Blot with clean cloth—you’ll see the stain lifting
- Rinse with plain water and blot until barely damp
- For stubborn traces, try a paste of baking soda and water, let sit 15 minutes, then vacuum
Chocolate and Ice Cream Stains
These protein and fat combinations require a two-step approach.
Phase 1 – Remove solids:
- Let chocolate harden completely (use ice cubes to speed this up)
- Scrape off solid pieces with a dull knife—never use anything sharp
- Vacuum loose particles
Phase 2 – Deep clean:
- Mix 1 teaspoon liquid dish soap with 1 cup cool water
- Apply with clean cloth, working the solution into fibers gently
- Let sit for 10 minutes—dish soap needs time to break down fats
- Rinse thoroughly with cool water (warm water will set the protein)
- Blot completely dry to prevent mold growth
Grease and Oil Stains
Cooking Oil and Butter Stains
Oil stains spread outward, so containment is your first priority.
Immediate response:
- Sprinkle cornstarch or baking soda heavily over the entire stain
- Don’t press it in—just let gravity work
- Wait 15-20 minutes for complete absorption
- Vacuum up the powder (you’ll see it’s changed color from absorbing oil)
Deep cleaning method:
- Mix 1 tablespoon dish soap (grease-cutting formula) with 2 cups warm water
- Apply sparingly—too much water spreads oil stains
- Work from outside edges inward with a soft brush
- Blot frequently with clean cloths
- Rinse with slightly warm water and blot until completely dry
- Check under good lighting—oil stains can hide and reappear later
Makeup and Lipstick Stains
These waxy stains need patience and the right temperature approach.
The warming method:
- Place a clean white cloth over the stain
- Use a warm iron on low heat for 10-15 seconds
- The heat will transfer the wax to your cloth
- Move to a clean section of cloth and repeat until no more transfers
- Clean remaining residue with dish soap solution
- Rinse and blot dry
Pet-Related Stains
Fresh Pet Accidents
Time is everything with pet stains—both for your carpet and your nose.
Immediate action plan:
- Remove solid waste with paper towels (wear gloves!)
- Blot liquid with paper towels—press firmly but don’t rub
- Pour cold water over area to dilute remaining residue
- Blot again until no more liquid transfers to towels
Odor elimination process:
- Mix equal parts white vinegar and water in spray bottle
- Spray generously—you need to reach the carpet pad underneath
- Let sit for 10 minutes while vinegar neutralizes ammonia
- Blot up excess moisture
- Sprinkle baking soda liberally over entire affected area
- Let baking soda sit overnight to absorb remaining odors
- Vacuum thoroughly in the morning
Set-In Pet Stains
Old accidents need aggressive treatment to prevent repeat offenses.
The enzyme approach:
- Identify the exact stain location (use a blacklight if needed)
- Saturate with enzyme cleaner (available at pet stores)
- Cover with plastic wrap to keep it moist
- Let sit for 24 hours—enzymes need time to break down proteins
- Remove plastic and blot up excess cleaner
- Rinse with cool water and blot dry
- Test sniff after completely dry—repeat if odor remains
Blood Stains
Fresh Blood Stains
Never use hot water on blood—it will cook the proteins and set the stain permanently.
The hydrogen peroxide method:
- Blot up as much blood as possible with cold, damp cloths
- Pour 3% hydrogen peroxide directly on stain
- Watch it foam—this bubbling action lifts blood from fibers
- Blot foam with clean cloth
- Rinse with cold water immediately (peroxide can bleach over time)
- Blot completely dry
Dried Blood Stains
Old blood needs rehydration before removal.
The cold water soak method:
- Make a paste with cold water and meat tenderizer (unseasoned)
- Apply paste to stain and let sit for 30 minutes
- The enzymes in meat tenderizer break down blood proteins
- Rinse with cold water and blot
- Follow up with hydrogen peroxide method if traces remain
Mud and Dirt Stains
The Drying Strategy Fight every instinct to clean mud while it’s wet—you’ll just spread it deeper.
Wait-and-clean method:
- Let mud dry completely (use fans to speed the process)
- Vacuum up as much dried mud as possible
- Use a stiff brush to break up remaining particles
- Vacuum again to remove loosened dirt
- Clean remaining stain with dish soap solution
- Rinse thoroughly and dry completely
The Universal Deep Clean: Monthly Reset
When multiple stain types need attention:
The comprehensive solution:
- 1 cup white vinegar
- 1 cup warm water
- 2 tablespoons liquid dish soap
- 1 tablespoon baking soda (add last to prevent foam-over)
Application process:
- Test in inconspicuous area first
- Apply with spray bottle in light, even coverage
- Work into fibers with soft brush using circular motions
- Let solution work for 15 minutes
- Blot with clean cloths until barely damp
- Rinse section by section with clean water
- Use fans to speed drying and prevent mold
Pro tip: Always clean from the least visible area toward the most visible. This way, if any slight color change occurs, it happens where you’ll notice it least.
Tackling Common Stains on Nylon Carpet
| Stain Type | Best Treatment | Time Needed |
|---|---|---|
| Food spills | Dish soap solution | 15 minutes |
| Pet accidents | Vinegar + baking soda | 30 minutes |
| Mud/dirt | Let dry, vacuum, then soap solution | 20 minutes |
| Grease | Corn starch absorption, then dish soap | 45 minutes |
| Wine/juice | Salt absorption, then cold water rinse | 25 minutes |
The Bottom Line on Cleaning Nylon Carpet
Your nylon carpet is an investment worth protecting. With regular vacuuming, quick spill response, and monthly deep cleaning using simple household items, you can keep it looking fresh and extend its life significantly. Remember, the key is consistency—a little effort regularly beats major cleaning marathons.
Frequently Asked Questions About Cleaning Nylon Carpet
How often should I deep clean my nylon carpet?
For most households, deep cleaning nylon carpet every 3-4 months is perfect. High-traffic homes with kids or pets might need it monthly, while quiet households can stretch it to twice a year. Watch for dullness or persistent odors as your cue.
Can I use bleach on nylon carpet stains?
Never use bleach on nylon carpet! It will permanently damage and discolor the fibers. Stick to hydrogen peroxide for whitening power—it’s much gentler and just as effective for most stains.
Why does my nylon carpet feel crunchy after cleaning?
This happens when soap residue gets left behind. Always rinse thoroughly with clean water after using any cleaning solution, and blot until barely damp. The crunchiness will disappear once you remove all soap traces.
Is it safe to use a steam cleaner on nylon carpet?
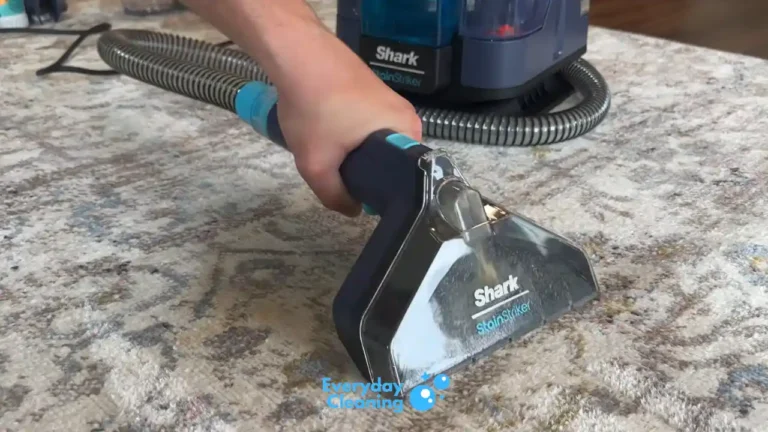
Yes, nylon handles steam cleaning beautifully! The synthetic fibers bounce back well from heat and moisture. Just ensure proper drying afterward to prevent mold growth in the padding underneath.
What’s the biggest mistake people make when cleaning nylon carpet?
Rubbing or scrubbing stains instead of blotting. This pushes the stain deeper and can damage fiber texture. Always blot with an up-and-down motion—never circular scrubbing.
Can old stains be removed from nylon carpet?
Many old stains can be lightened or removed completely, especially from nylon’s resilient fibers. Try the enzyme cleaner method for protein-based stains, or hydrogen peroxide for organic stains. Some may need professional treatment.
How long should I wait before walking on cleaned carpet?
Wait until the carpet feels just barely damp to the touch—usually 2-4 hours with good ventilation. Walking on wet carpet can resoil it quickly and potentially damage the fibers or backing.
Do I need special products for cleaning nylon carpet?
Not at all! Basic household items like dish soap, white vinegar, baking soda, and hydrogen peroxide handle 95% of cleaning tasks. Save money and avoid harsh chemicals—simple solutions work best.
Why do some areas of my nylon carpet look darker after cleaning?
This usually means those areas weren’t rinsed thoroughly or are still damp. Ensure complete rinsing and drying. If it persists after drying, you might have over-wetted the area and need to extract more moisture.
Can I prevent my nylon carpet from getting dirty so quickly?
Absolutely! Use doormats inside and outside entrances, remove shoes when possible, vacuum high-traffic areas daily, and treat spills immediately. These simple habits cut your deep cleaning needs in half.