
How to Pressure Wash a Deck without Damaging the Wood
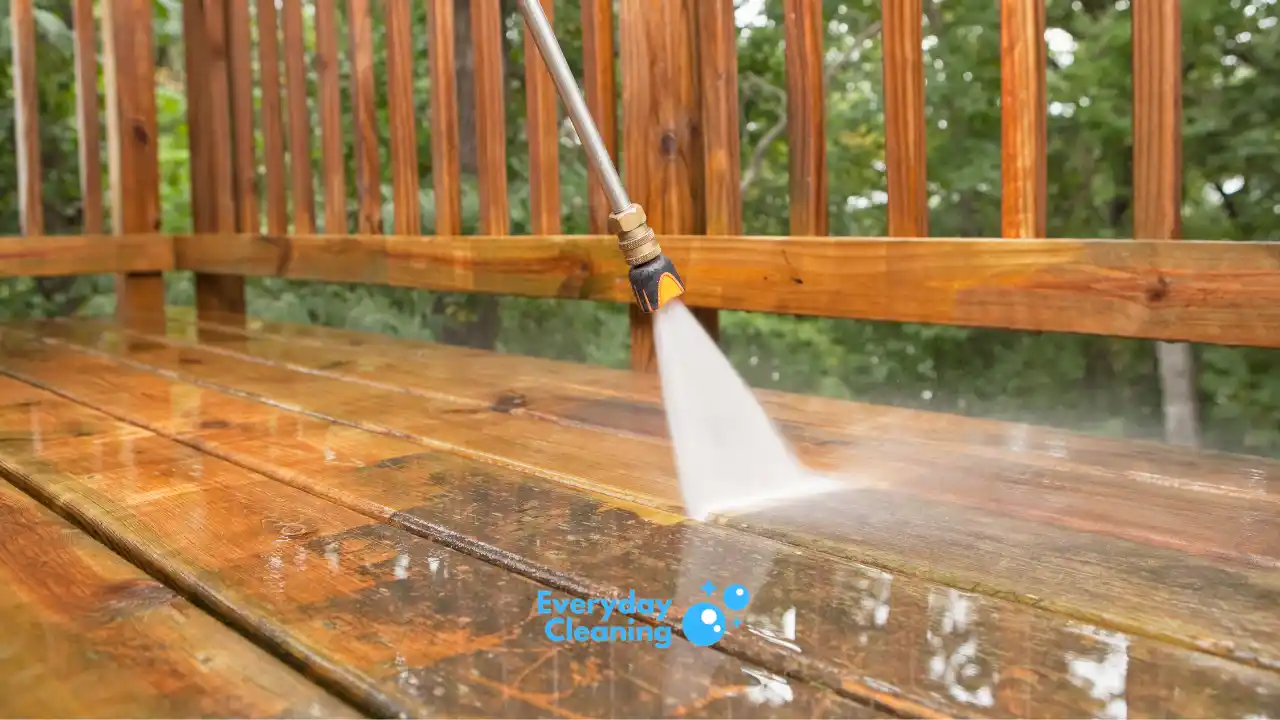
A dirty deck won’t hold stain or finish. No matter how good the product is, it won’t last on a surface covered in mold, old coating, or grime. Pressure washing solves that problem fast and with plain water.
What You Need Before You Start
You don’t need a commercial-grade machine. For deck cleaning, an electric pressure washer in the 1,500 to 2,000 PSI range is plenty. Gas machines can work too, but they’re more likely to damage softer woods if you’re not careful with technique.
Check out our guides on the best pressure washer for decks and best electric pressure washer if you’re still deciding which machine fits your setup.
For nozzles, you’ll want either a 25-degree (green) or 40-degree (white) tip. The 40-degree is the safer starting point for most wood decks. Never use a 0-degree or 15-degree tip on wood. Those are for concrete and stripping paint, not for boards you want to keep intact.
A few other things to have ready:
- Deck cleaner or mildewcide (optional but helpful for heavy mold buildup)
- Garden hose with enough length to reach a water source
- Protective eyewear
- Old clothes you don’t mind getting wet
Clear the deck completely before you start. Move furniture, planters, grills, doormats, everything. You can’t clean what’s covered, and you don’t want to spray debris back onto furniture you just moved.
How to Pressure Wash a Deck Step by Step
Step 1: Pre-Rinse the Surface
Before you start the real wash, do a quick rinse with plain water. This loosens surface debris and wets the wood so it responds more evenly to the pressurized stream. It also shows you how dirty the deck actually is, which helps you plan where to start.
If there’s a lot of mold or mildew, apply a deck cleaner solution first. Let it sit for 10 to 15 minutes before rinsing. This softens the biological growth so the pressure washer can lift it more easily. For guidance on tackling heavy mold growth specifically, our article on how to remove mold from deck covers that process in more detail.
Step 2: Set Your Distance and Angle
Keep the nozzle 8 to 12 inches from the surface. That distance gives you enough force to clean without the concentrated stream gouging the wood fibers.
Point the spray at a low angle to the surface, not straight down. This lets the water get under dirt and lift it off rather than just pushing it deeper.
Step 3: Work With the Wood Grain
This is the most important technique rule. Always spray along the grain of the wood, not across it. Spraying across the grain raises fibers, creates fuzzy streaks, and can permanently roughen the surface.
Start at one end of the deck. Work in passes that cover about two boards at a time. Keep the nozzle moving at a steady pace. Don’t stop in one spot. A stationary nozzle will leave a visible mark in the wood.
Pull the trigger at the start of each pass. At the end, sweep the nozzle up and away from the deck before releasing the trigger. This prevents water from pooling or splattering back onto already-cleaned sections.
Step 4: Overlap Your Passes
Your second pass should overlap the first by a few inches. This eliminates lap marks, which are the streaky lines that show up when sections dry at different saturation levels. Inconsistent passes are the most common reason a deck looks patchy after washing.
Work your way across the full deck without stopping mid-section. If you have to stop before finishing the whole surface, sweep the nozzle away before releasing the trigger. Pick back up at the beginning of the incomplete section, not the middle.
Step 5: Rinse from Top to Bottom
Once you’ve gone over the main deck surface, work your way around any railings, steps, and vertical surfaces. Always rinse from top to bottom so dirty water runs down onto areas you haven’t cleaned yet, not back onto clean boards.
For railings with spindles, hold the nozzle at an angle and work along each horizontal run. Don’t try to clean individual spindles at close range. A wider angle from a few feet away covers them efficiently without concentrating pressure in one spot. If you want a more focused walkthrough on railings, see how to clean deck railing.
Step 6: Do a Final Inspection Pass
After you’ve covered the whole deck, take a slow walk and look for any spots you missed. Corners, edges, and the areas around posts tend to get less coverage. A quick touch-up pass while everything is still wet is much easier than trying to re-clean a dry deck later.
Why Pressure Washing Is the Best Way to Prep a Deck?
A pressure washer does things a scrub brush and garden hose simply cannot. It blasts away surface dirt, mold, mildew, and algae that have worked their way into the wood grain. It strips old, flaking stain and peeling paint without harsh chemicals. And it opens up the wood pores so the new finish can actually penetrate instead of sitting on top.
That last part matters more than most people realize. Stain applied to sealed-off or grimy wood peels fast. Stain applied to clean, open-pored wood bonds deeply and lasts years longer.
For most decks in decent condition, pressure washing alone is enough prep before refinishing. You may not need to sand or strip chemically at all. That saves time and money.
How Long to Let the Deck Dry Before Staining
Give the deck a minimum of 24 hours to dry before applying any stain, sealer, or finish. Depending on your climate and the time of year, 48 hours may be safer.
The wood needs to be fully dry for the finish to penetrate correctly. Staining wet wood traps moisture inside the boards, which leads to bubbling, peeling, and premature failure of the finish. If the boards still feel damp to the touch after 24 hours, wait longer.
If you washed the deck in the fall or early spring, account for lower temperatures and higher humidity. Both slow drying time significantly.
What to Do After Pressure Washing
Once the deck is dry, inspect it for any damage that shows up more clearly now that it’s clean. Cracked boards, raised grain from over-washing, and splintered sections should be sanded smooth before you apply finish.
If the wood grain feels rough or fuzzy, lightly sand the surface with 80-grit sandpaper. This is common after pressure washing and takes about 20 minutes with an orbital sander on a standard deck.
After sanding, wipe away dust and you’re ready to apply your chosen deck coating. A high-quality stain or sealer applied to a clean, dry, open-pored deck will last significantly longer than one applied to a surface that was improperly prepped.
Common Mistakes to Avoid
Using too much pressure. More PSI does not mean cleaner wood. High pressure on soft wood causes furring, gouging, and raised grain that’s difficult to fix. Stick to 1,500 to 2,000 PSI for most decks.
Using a zero-degree or red nozzle. That nozzle is for paint stripping and heavy concrete work. On wood, it will cut into the surface and leave permanent damage.
Holding the nozzle still. Even a half-second pause at the same spot leaves a visible mark. Keep moving.
Spraying across the grain. This raises fibers and leaves fuzzy streaks that look bad under stain. Always go with the grain.
Staining before the wood is fully dry. This is the most common mistake homeowners make after washing. Wait the full 24 to 48 hours. It makes a real difference in how long the finish lasts.
Skipping the railings and stairs. The main deck surface is obvious. Railings and stairs collect just as much grime but get skipped when people are in a rush.
Frequently Asked Questions
Can you pressure wash a composite deck?
Yes, but with a lighter touch. Composite decking is more sensitive to high pressure than natural wood. Stay below 1,500 PSI and use a 40-degree tip. Keep the nozzle at least 12 inches away. For a full walkthrough, see our guide on how to clean composite deck.
Do I need to use soap or deck cleaner when pressure washing?
For light dirt and dust, plain water is fine. If the deck has significant mold, mildew, or old stain buildup, a deck cleaner applied before washing speeds things up and gives you better results. Apply it, let it sit for 10 to 15 minutes, then pressure wash it off.
How often should I pressure wash my deck?
Once a year is a solid baseline for most decks. If you’re in a humid climate with a lot of shade, or if the deck gets heavy use, you may need to wash it twice a year. Watch for signs of mold, dark staining, or slippery surfaces between washes.
Can I use a regular garden hose instead of a pressure washer?
You can rinse a deck with a garden hose, but it won’t remove embedded dirt, mold, or old finish the way a pressure washer does. For basic maintenance rinsing it works fine, but for prep before staining, a pressure washer is worth it. Related: pressure washer vs scrub brush breaks down the comparison if you’re weighing your options



One Comment
Comments are closed.