Look, I’ll be honest with you—I’ve been using EXPO Dry Erase Whiteboard Cleaner for years. It works incredibly well at removing stubborn marker stains, and the board looks spotless afterward. But you go through it quickly if you clean daily. Plus, constantly buying bottles adds up, especially if you have multiple whiteboards at home or in the classroom.
That’s when I started experimenting with homemade solutions, and I was shocked at how well they worked. These DIY whiteboard cleaner recipes are just as effective as EXPO cleaner, cost pennies to make, and use ingredients you probably already have at home. Let me share what I’ve learned.
1. Rubbing Alcohol and Water Solution
This is my go-to recipe now, and honestly, it’s become my favorite.

Ingredients:
- 1 part rubbing alcohol (isopropyl alcohol 70% or higher)
- 1 part water
- Spray bottle
Instructions: Mix equal parts rubbing alcohol and water in a spray bottle. Spray directly onto the whiteboard, let it sit for 5-10 seconds, then wipe with a microfiber cloth or paper towel. For dried marks, spray and let it sit for 30 seconds before wiping.
Effectiveness: This DIY whiteboard cleaner cuts through dry-erase marker ink like a dream. Rated 9/10 compared to EXPO cleaner (#ad). It’s my new number one for daily cleaning. The alcohol breaks down the marker’s solvent, making it super easy to wipe away.
For Old Ink Stains: Spray the area generously, let it soak for 2-3 minutes, then gently scrub with a microfiber cloth in circular motions.
2. White Vinegar Cleaner
Vinegar is a cleaning powerhouse, and it works wonderfully on whiteboards.

Ingredients:
- 1/2 cup white vinegar
- 1/2 cup water
- Spray bottle
Instructions: Mix the vinegar and water in your spray bottle. Spray the whiteboard surface, wait about 10 seconds, and wipe clean with a soft cloth. The vinegar smell disappears as it dries.
Effectiveness: This solution removes most marker stains easily and costs almost nothing—maybe 10 cents.. Unlike commercial cleaners, there’s zero chemical smell. It’s gentler than alcohol but still very effective for regular maintenance.
For Old Ink Stains: Spray heavily on the stain, let it sit for 5 minutes, then scrub gently. For really tough spots, apply undiluted vinegar directly and wait a few minutes before wiping.
3. Baking Soda Paste
When you’ve got ghosting or really stubborn marks, this paste is your best friend.

Ingredients:
- 2 tablespoons baking soda
- 1 tablespoon water
- Soft cloth
Instructions: Mix baking soda with water to create a thick paste. Apply the paste to stained areas using a damp cloth, gently rub in circular motions, then rinse with a clean, damp cloth. Dry thoroughly.
Effectiveness: The gentle abrasive action of baking soda works wonders on ghosting and old stains. It requires a bit more elbow grease but leaves the board completely residue-free and looking brand new.
For Old Ink Stains: Make a slightly thicker paste and let it sit on the stain for 3-5 minutes before scrubbing. The baking soda will work into the porous surface and lift even set-in marks.
4. Hydrogen Peroxide Solution
This one surprised me with how well it worked.

Ingredients:
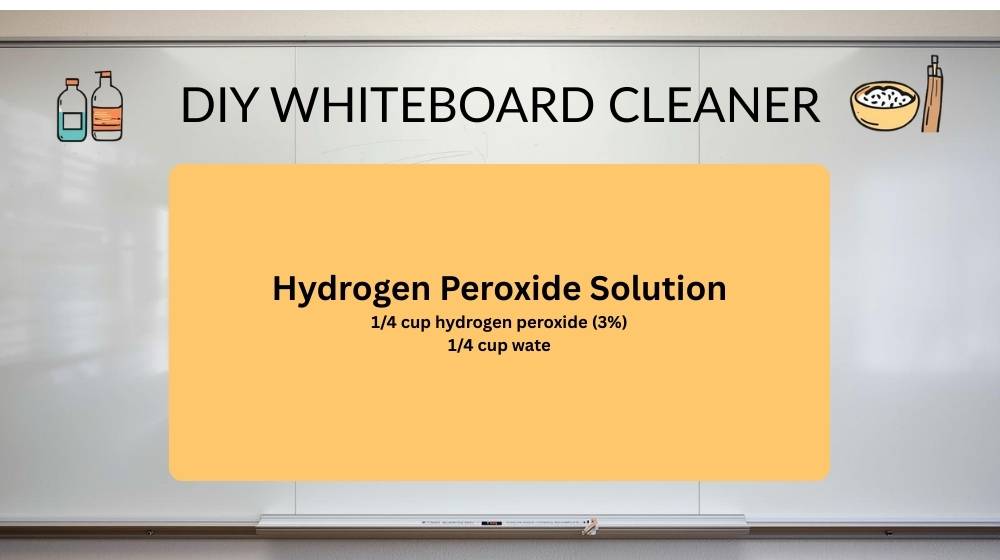
- 1/4 cup hydrogen peroxide (3%)
- 1/4 cup water
- Spray bottle
Instructions: Combine hydrogen peroxide and water in a spray bottle. Spray the whiteboard, let it sit for 15-20 seconds, then wipe with a clean cloth. The solution is particularly good for colored marker stains.
Effectiveness: Hydrogen peroxide is excellent at breaking down ink pigments, especially from colored dry-erase markers. It’s safe, non-toxic, and leaves no residue. Works beautifully on both fresh and moderately old stains.
For Old Ink Stains: Apply the solution and let it sit for 3-4 minutes. The peroxide will oxidize the stain, making it easier to remove. You may need to repeat for very old marks.
5. Dish Soap and Water Mix
Sometimes the simplest solutions are the best.
Ingredients:
- 1 teaspoon dish soap (Dawn works great)
- 2 cups warm water
- Bowl and cloth
Instructions: Mix dish soap with warm water in a bowl until slightly sudsy. Dip your cloth in the solution, wring it out well (you want it damp, not soaking), and wipe the whiteboard. Follow with a clean, damp cloth to remove soap residue, then dry.
Effectiveness: This gentle approach works perfectly for light to moderate stains and regular cleaning. It’s the safest option for laminated or sensitive whiteboard surfaces and won’t damage the coating over time.
For Old Ink Stains: Let the soapy cloth sit on the stain for 2-3 minutes to soften it. The surfactants in dish soap will break down the marker oils. You might need to repeat the process twice for very old stains.
6. Lemon Juice and Baking Soda Combo
The dynamic duo for tough cleaning jobs.
Ingredients:
- 2 tablespoons fresh lemon juice
- 1 tablespoon baking soda
- Spray bottle with water
Instructions: Mix lemon juice and baking soda to form a paste. Apply to stained areas, let it fizz for 30 seconds, then gently scrub with a damp cloth. Rinse with water and dry thoroughly.
Effectiveness: The combination of citric acid and mild abrasive action tackles stubborn stains beautifully. Plus, it leaves a fresh, clean scent. This works especially well on stains that have been sitting for weeks.
For Old Ink Stains: The fizzing action helps lift old ink from the board’s pores. Apply the paste, let it work for 2-3 minutes, then scrub gently. The natural acidity breaks down dried marker pigments effectively.
7. Hand Sanitizer Method
Yes, really! That bottle on your desk can clean your whiteboard.
Ingredients:
- Alcohol-based hand sanitizer
- Paper towel or cloth
Instructions: Squirt a small amount of hand sanitizer directly onto the stained area. Spread it around with your finger or cloth, wait 10 seconds, then wipe clean. The alcohol content does the work.
Effectiveness: This is perfect when you need a quick fix and don’t have your spray bottle handy. The alcohol in the sanitizer dissolves marker ink just like rubbing alcohol, and any moisturizers in the formula help condition the board. Super convenient for classrooms or offices.
For Old Ink Stains: Apply a generous amount and let it sit for 1-2 minutes. The gel consistency helps it cling to vertical surfaces better than spray solutions.
8. Baby Wipes Solution
Gentle yet effective—perfect for regular maintenance.
Ingredients:
- Alcohol-free baby wipes (or make your own with soft cloths, water, and a drop of baby shampoo)
Instructions: Simply wipe the whiteboard with baby wipes, then buff with a dry cloth for streak-free shine. Keep a container near your board for easy daily cleaning.
Effectiveness: Baby wipes are fantastic for quick daily cleaning and won’t dry out or damage your whiteboard surface over time. They’re gentle enough to use multiple times a day without worrying about wear.
For Old Ink Stains: They work better as preventative maintenance, but if you wipe firmly in circular motions, they can handle moderately old stains. For best results, go over the area several times.
9. Toothpaste Scrub
Another bathroom staple that doubles as a whiteboard cleaner!
Ingredients:
- White, non-gel toothpaste (about 1 tablespoon)
- Damp cloth
- Dry cloth for buffing
Instructions: Apply a small amount of white toothpaste to the stained area. Use a damp cloth to gently rub in circular motions, then wipe away with a clean, damp cloth. Buff dry to prevent streaking.
Effectiveness: Toothpaste contains mild abrasives that polish away stubborn marks and ghosting without scratching. It’s particularly good for small, concentrated stains. Just make sure you use white paste, not gel or colored varieties.
For Old Ink Stains: Let the toothpaste sit on the stain for 3-5 minutes before scrubbing. The combination of cleaning agents and gentle abrasives will lift even set-in marks. Rinse thoroughly to avoid residue.
10. Rubbing Alcohol and Essential Oil Blend
This one cleans and leaves a pleasant scent.
Ingredients:
- 1 cup rubbing alcohol
- 1 cup water
- 10 drops essential oil (lavender, lemon, or tea tree work great)
- Spray bottle
Instructions: Combine all ingredients in a spray bottle and shake well. Spray on the whiteboard, let sit for 10 seconds, then wipe with a microfiber cloth. The essential oils add a pleasant scent while the alcohol does the cleaning.
Effectiveness: This enhanced version of the basic alcohol solution makes cleaning more enjoyable. The essential oils don’t interfere with cleaning power but add antibacterial properties and a fresh smell. It’s my favorite for classroom settings.
For Old Ink Stains: The alcohol content handles old stains just as well as the plain version. Spray generously, wait 2-3 minutes, and wipe. The essential oils help mask any lingering marker smell too.
FAQ
What causes marker ghosting on whiteboards?
Ghosting happens when dry-erase marker ink seeps into the porous surface of your whiteboard over time, especially if marks are left for days or weeks. Regular cleaning with these DIY whiteboard cleaner solutions prevents this buildup. The key is wiping your board daily, even if it means just a quick wipe with rubbing alcohol solution.
Can I use acetone or nail polish remover on my whiteboard?
I don’t recommend it. Acetone is too harsh and can damage the whiteboard’s coating, making it harder to clean in the future. Stick with gentler solutions like rubbing alcohol or vinegar. They’re effective without risking damage to your board’s surface.
How often should I deep clean my whiteboard?
For daily use, wipe it down after each use with a dry eraser or damp cloth. Do a deeper clean with one of these DIY solutions once a week. If you notice ghosting or stubborn stains, clean it right away with the baking soda paste or rubbing alcohol method before they become permanent.
Will these cleaners work on melamine whiteboards?
Yes, all these recipes work great on melamine, porcelain, and glass whiteboards. Just be extra gentle with melamine since it’s more porous. Avoid excessive scrubbing with abrasive methods like baking soda on melamine boards—use the liquid solutions instead for regular cleaning.
My whiteboard has permanent marker on it. Will these work?
Actually, yes! The rubbing alcohol solution or hand sanitizer method can remove permanent marker from whiteboards. Here’s a trick: color over the permanent marker with a dry-erase marker, then wipe immediately. The solvents in dry-erase markers help break down permanent marker ink. Follow up with your DIY whiteboard cleaner for a spotless finish.
Can I mix these cleaning solutions together for better results?
Don’t mix them! Some combinations can be dangerous (like vinegar and hydrogen peroxide) or just ineffective. Stick to one recipe at a time. If one doesn’t work, rinse the board completely before trying another method. The single-ingredient solutions work best when used properly.
Why does my whiteboard streak after cleaning?
Streaking usually means you’re using too much cleaner or not buffing the board dry. Spray lightly, wipe with a damp cloth, then immediately buff with a dry microfiber cloth. Also, check your cloth—if it’s lint-heavy or dirty, it’ll cause streaks. Microfiber works best for streak-free results.


